


Radiant Electric Heat
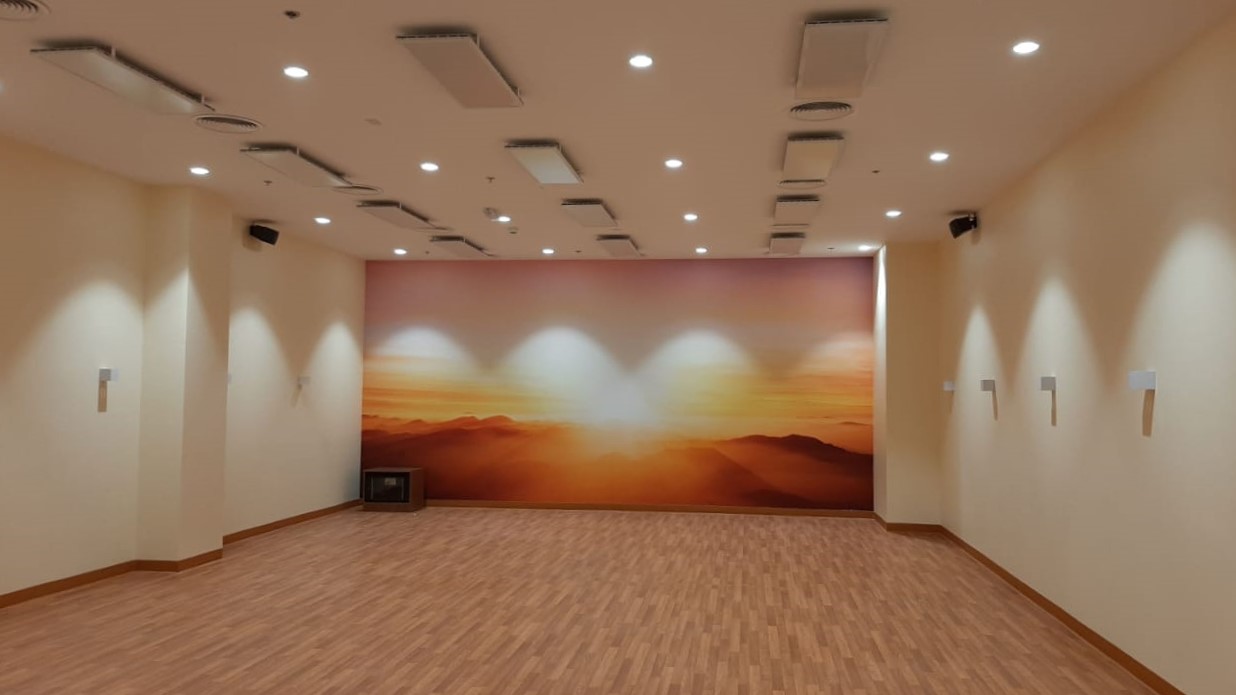
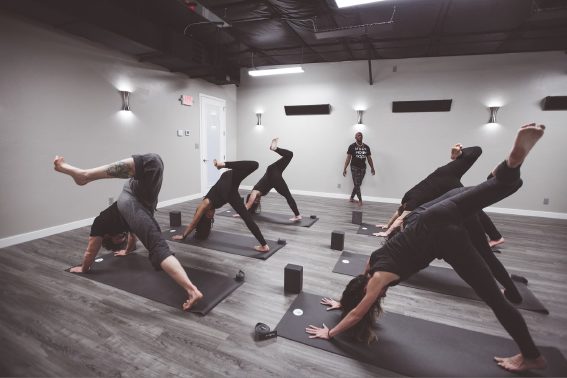
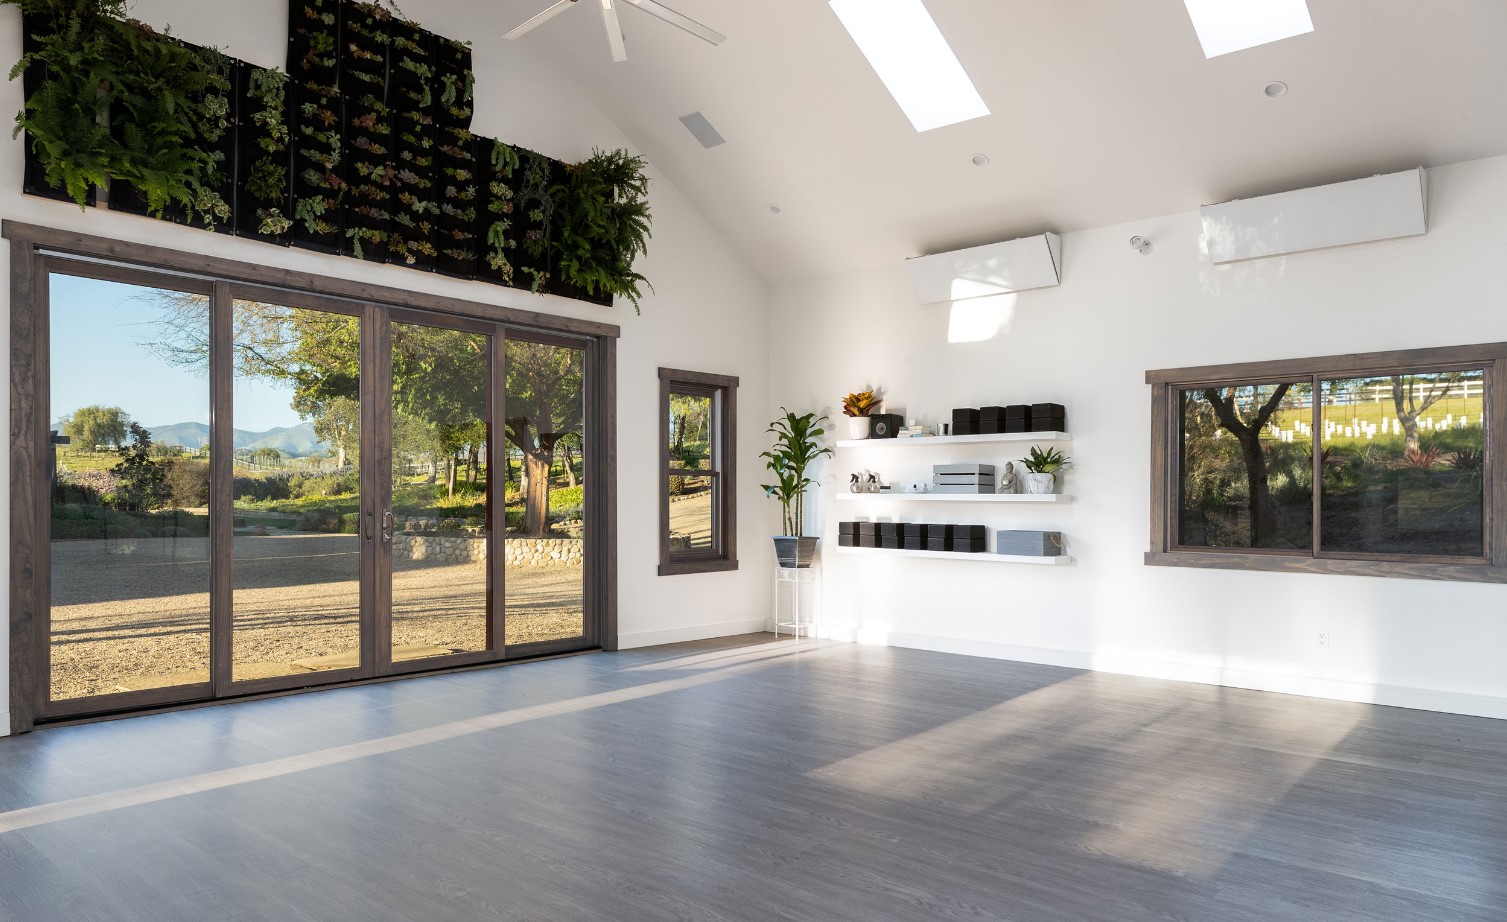
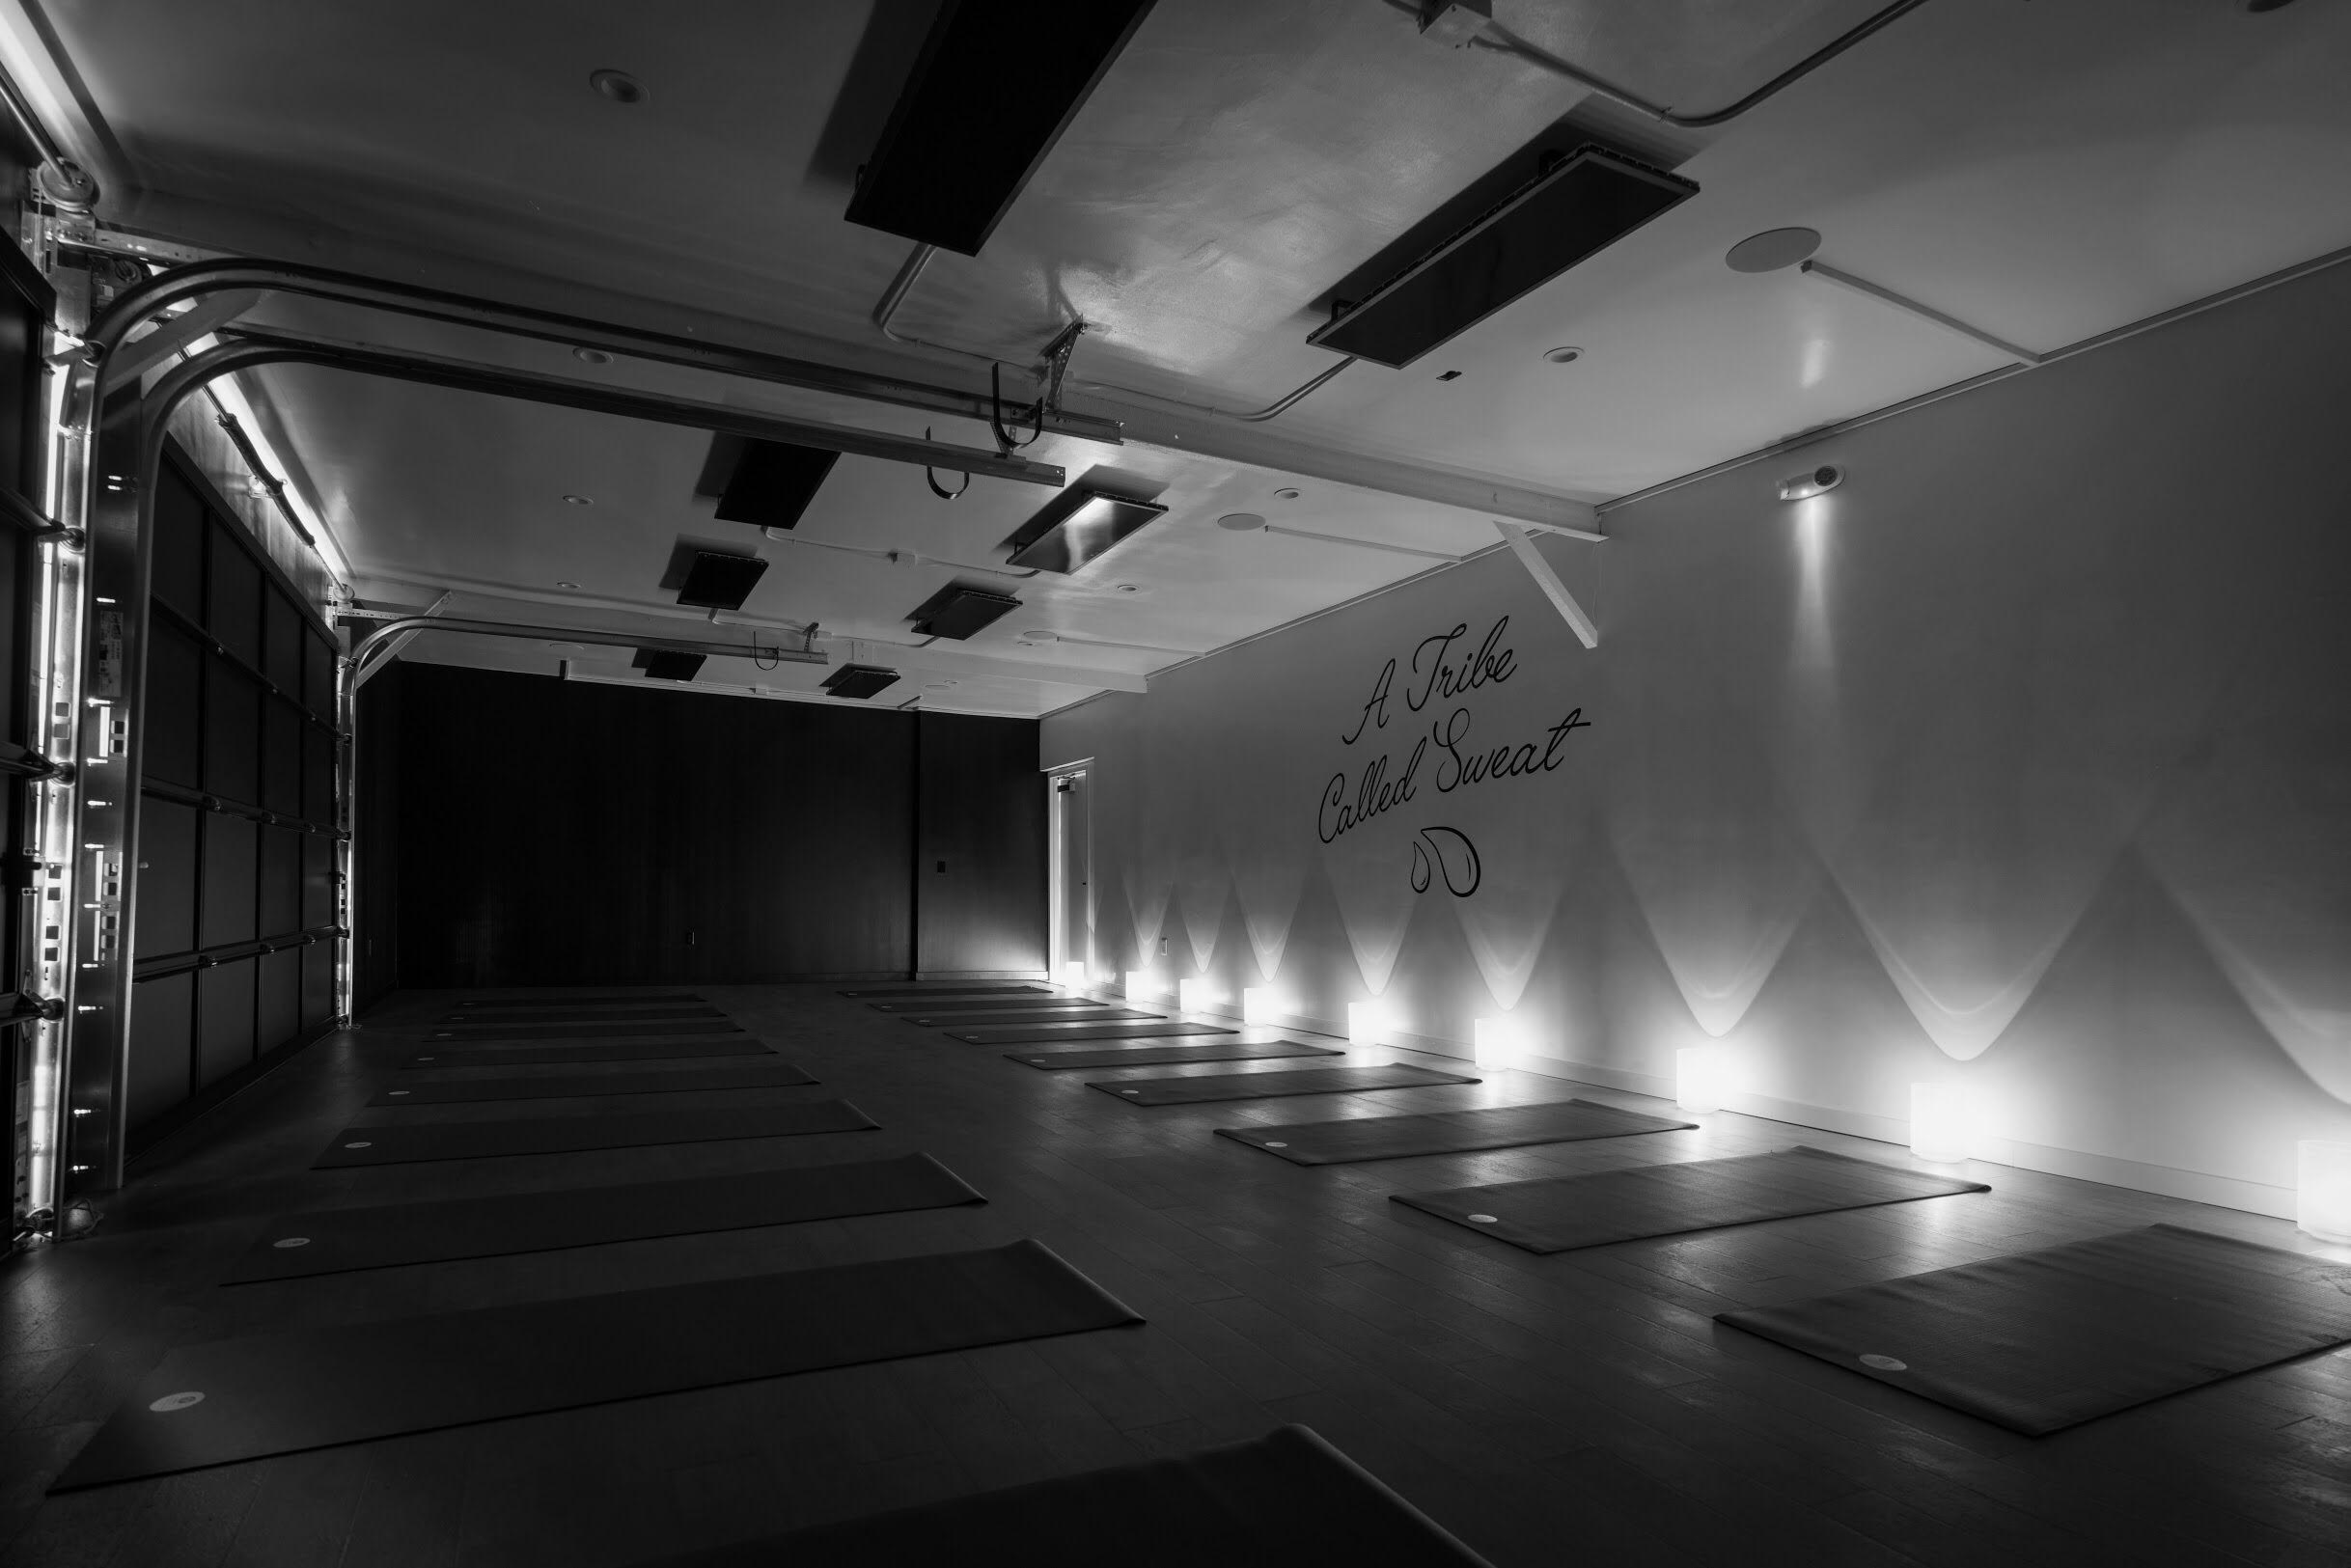
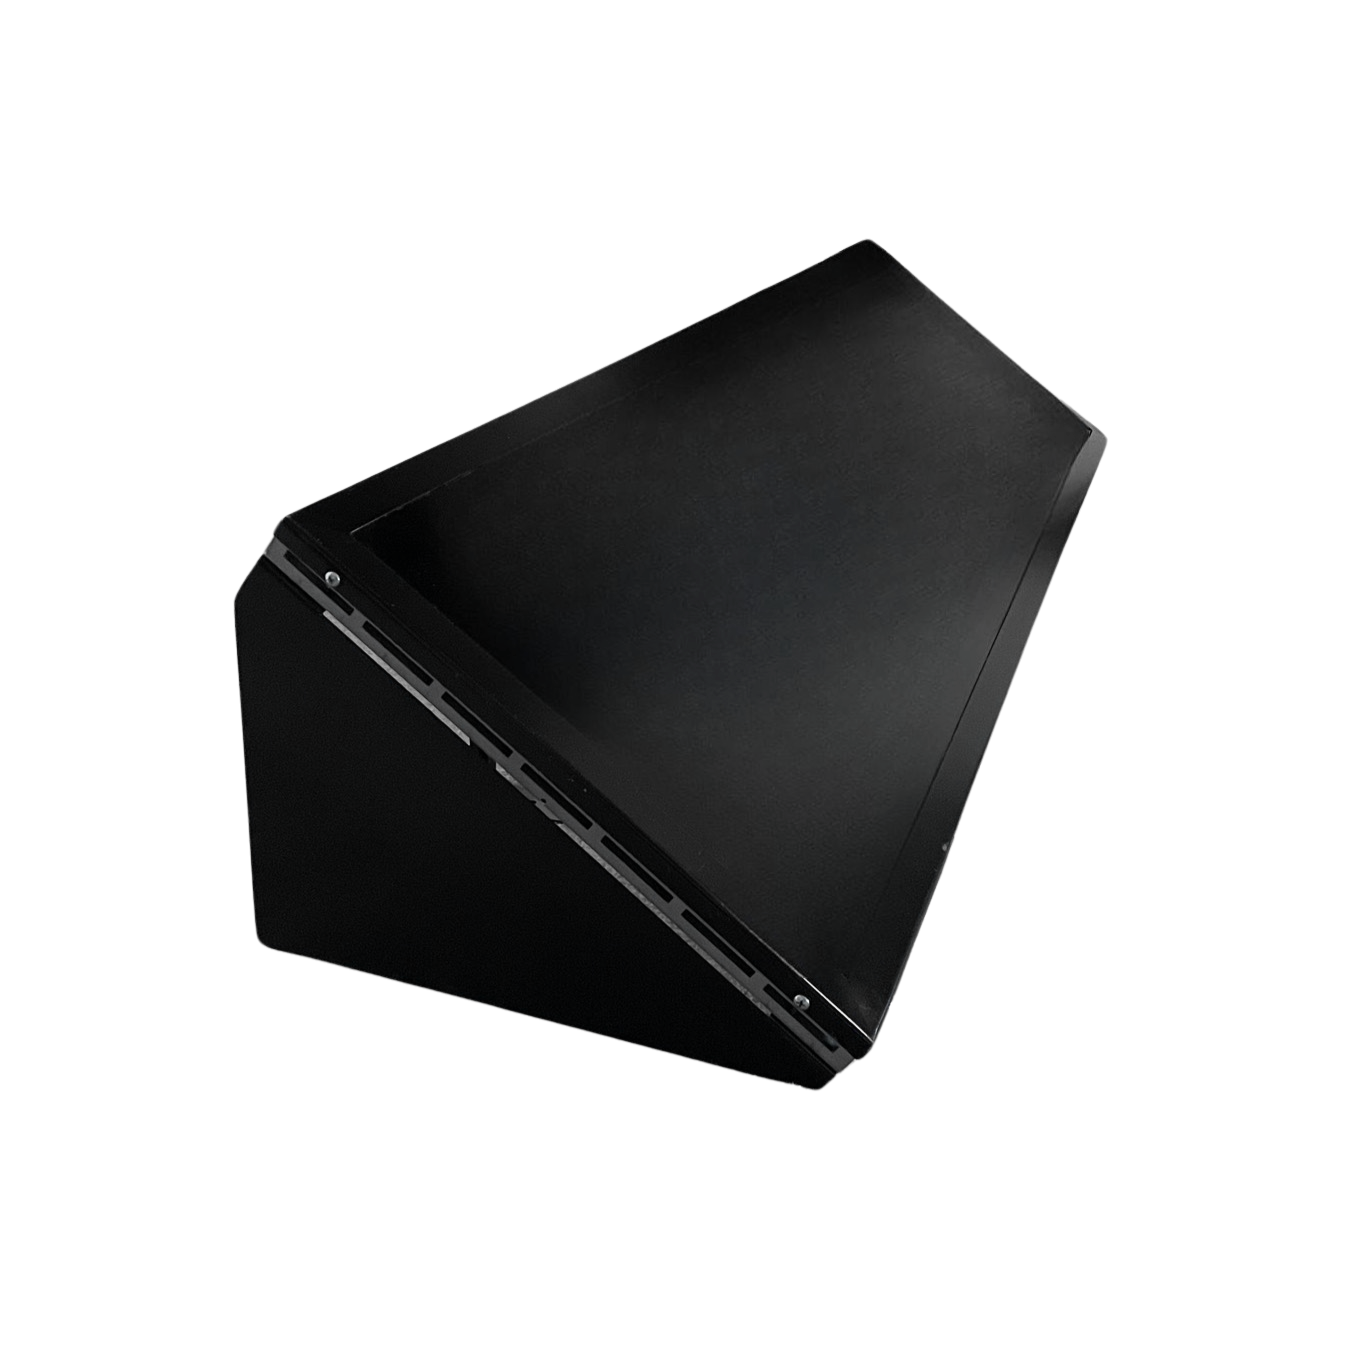
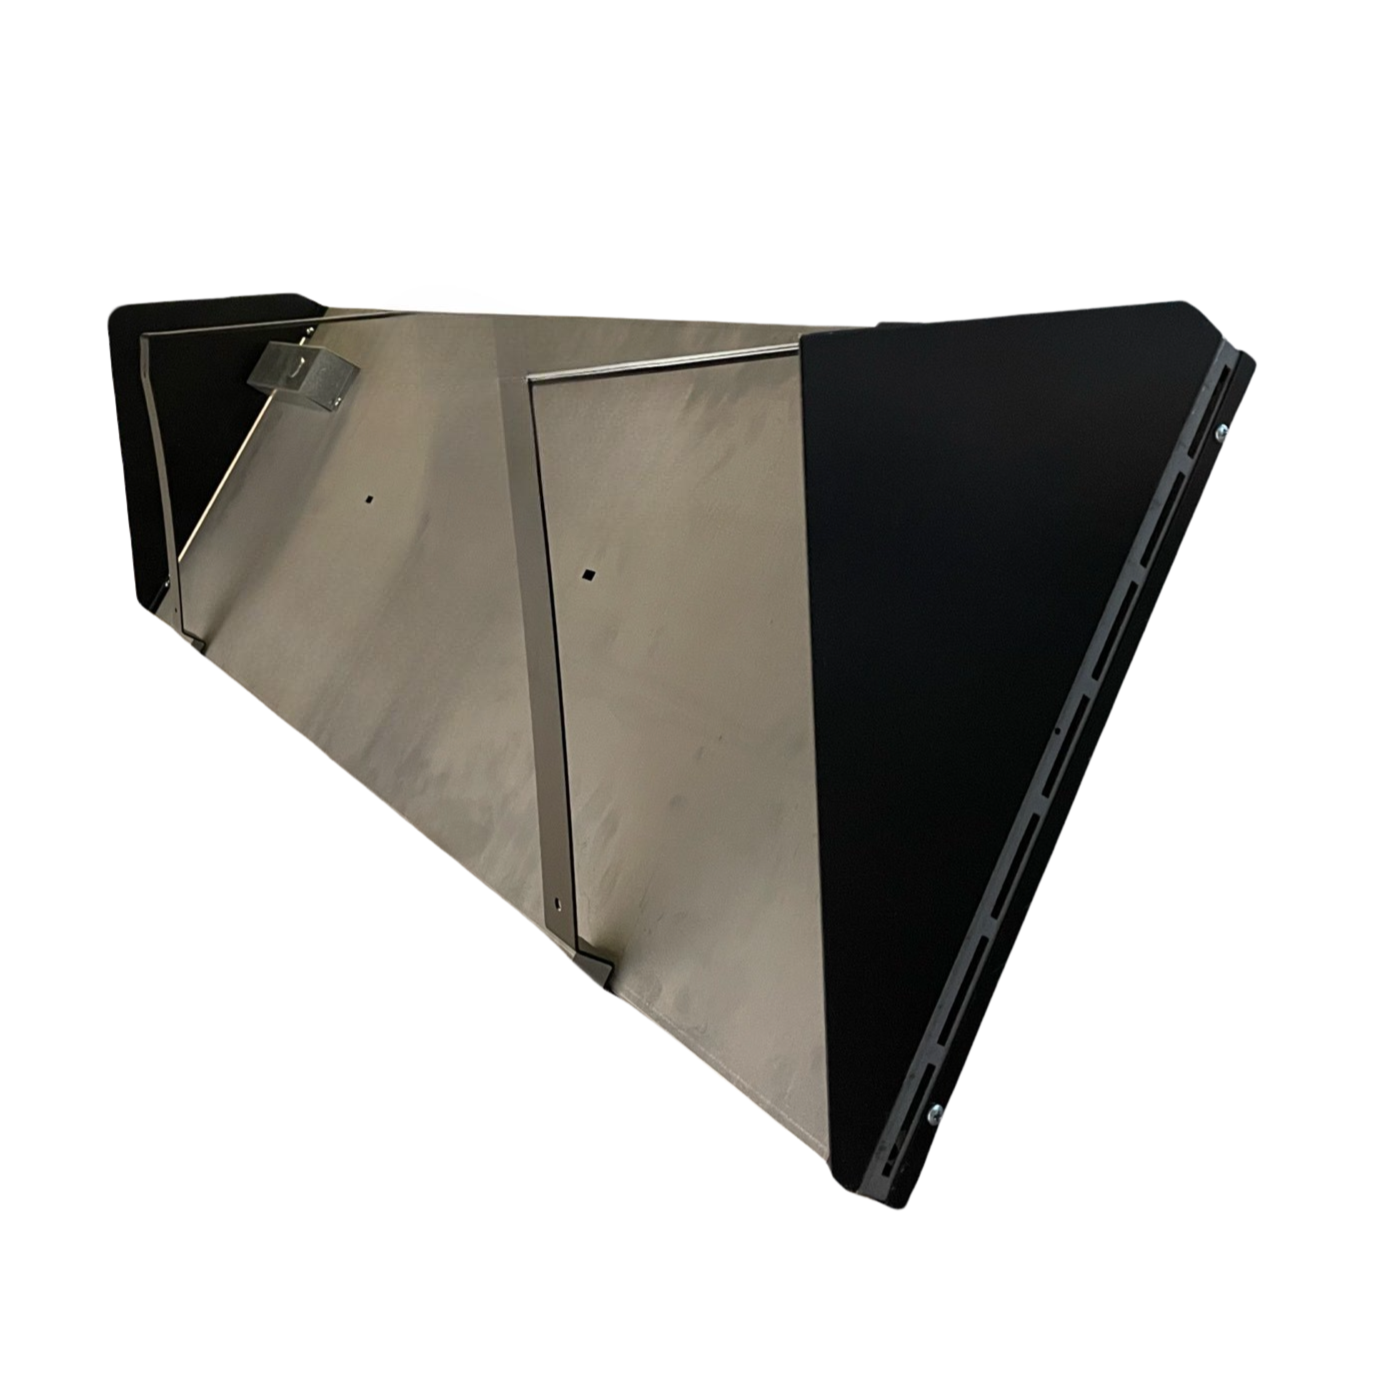
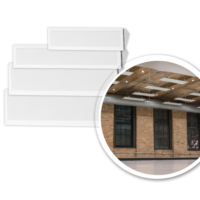
The versatile Radiant Electric Heat – Yoga Cove Heater is one of our most popular heating options. It can be placed on walls, in coves, or on the ceiling. It’s used for hot yoga studios worldwide. Low cost, no maintenance, and no noise.
- Black or white finish color
- 1,500-watts
- Dimensions: 46″x15″x1.25″ or 116.84×38.1×3.175cm
- 208, 240, and 277 volts
- Includes a 3′ electrical whip for ease of hard wiring to a junction box
- Heater reaches its maximum temperature of 425F/171C on the ceiling
- C UL US (Approved for the US and Canada)
- Far infrared spectrum (FIR) heater
Frequently Asked Questions
Best practices for cove heater installation
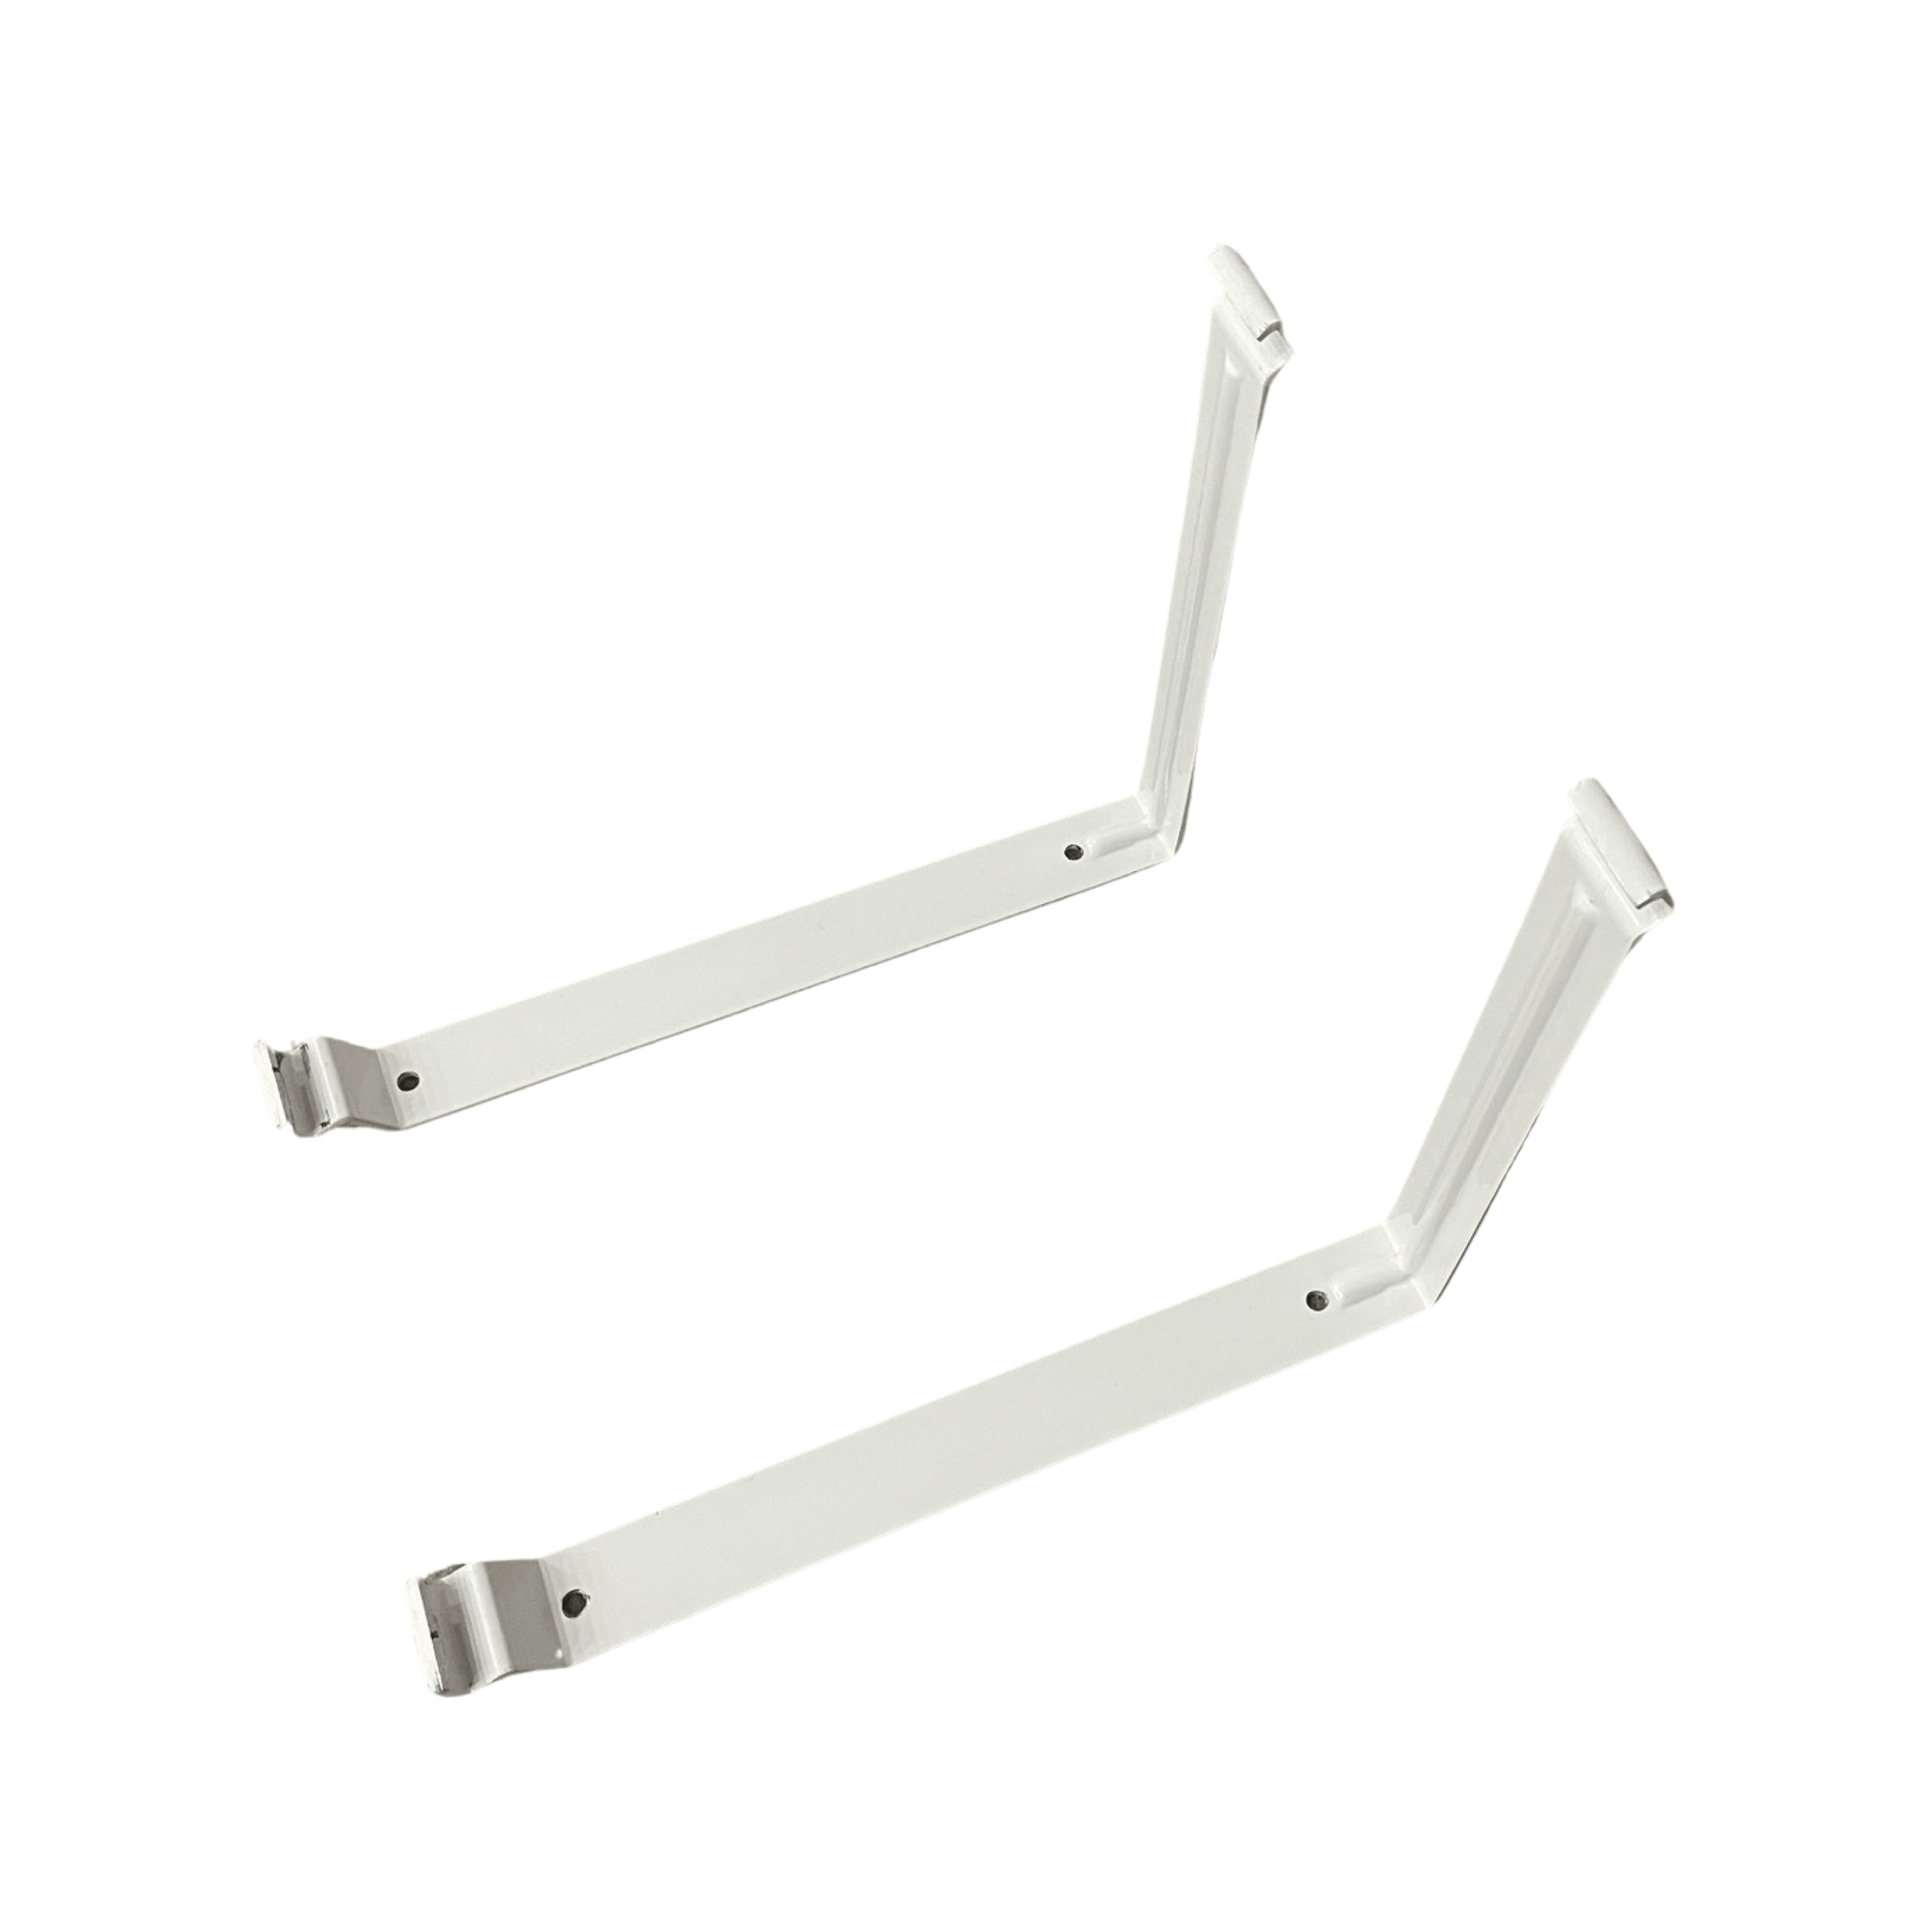
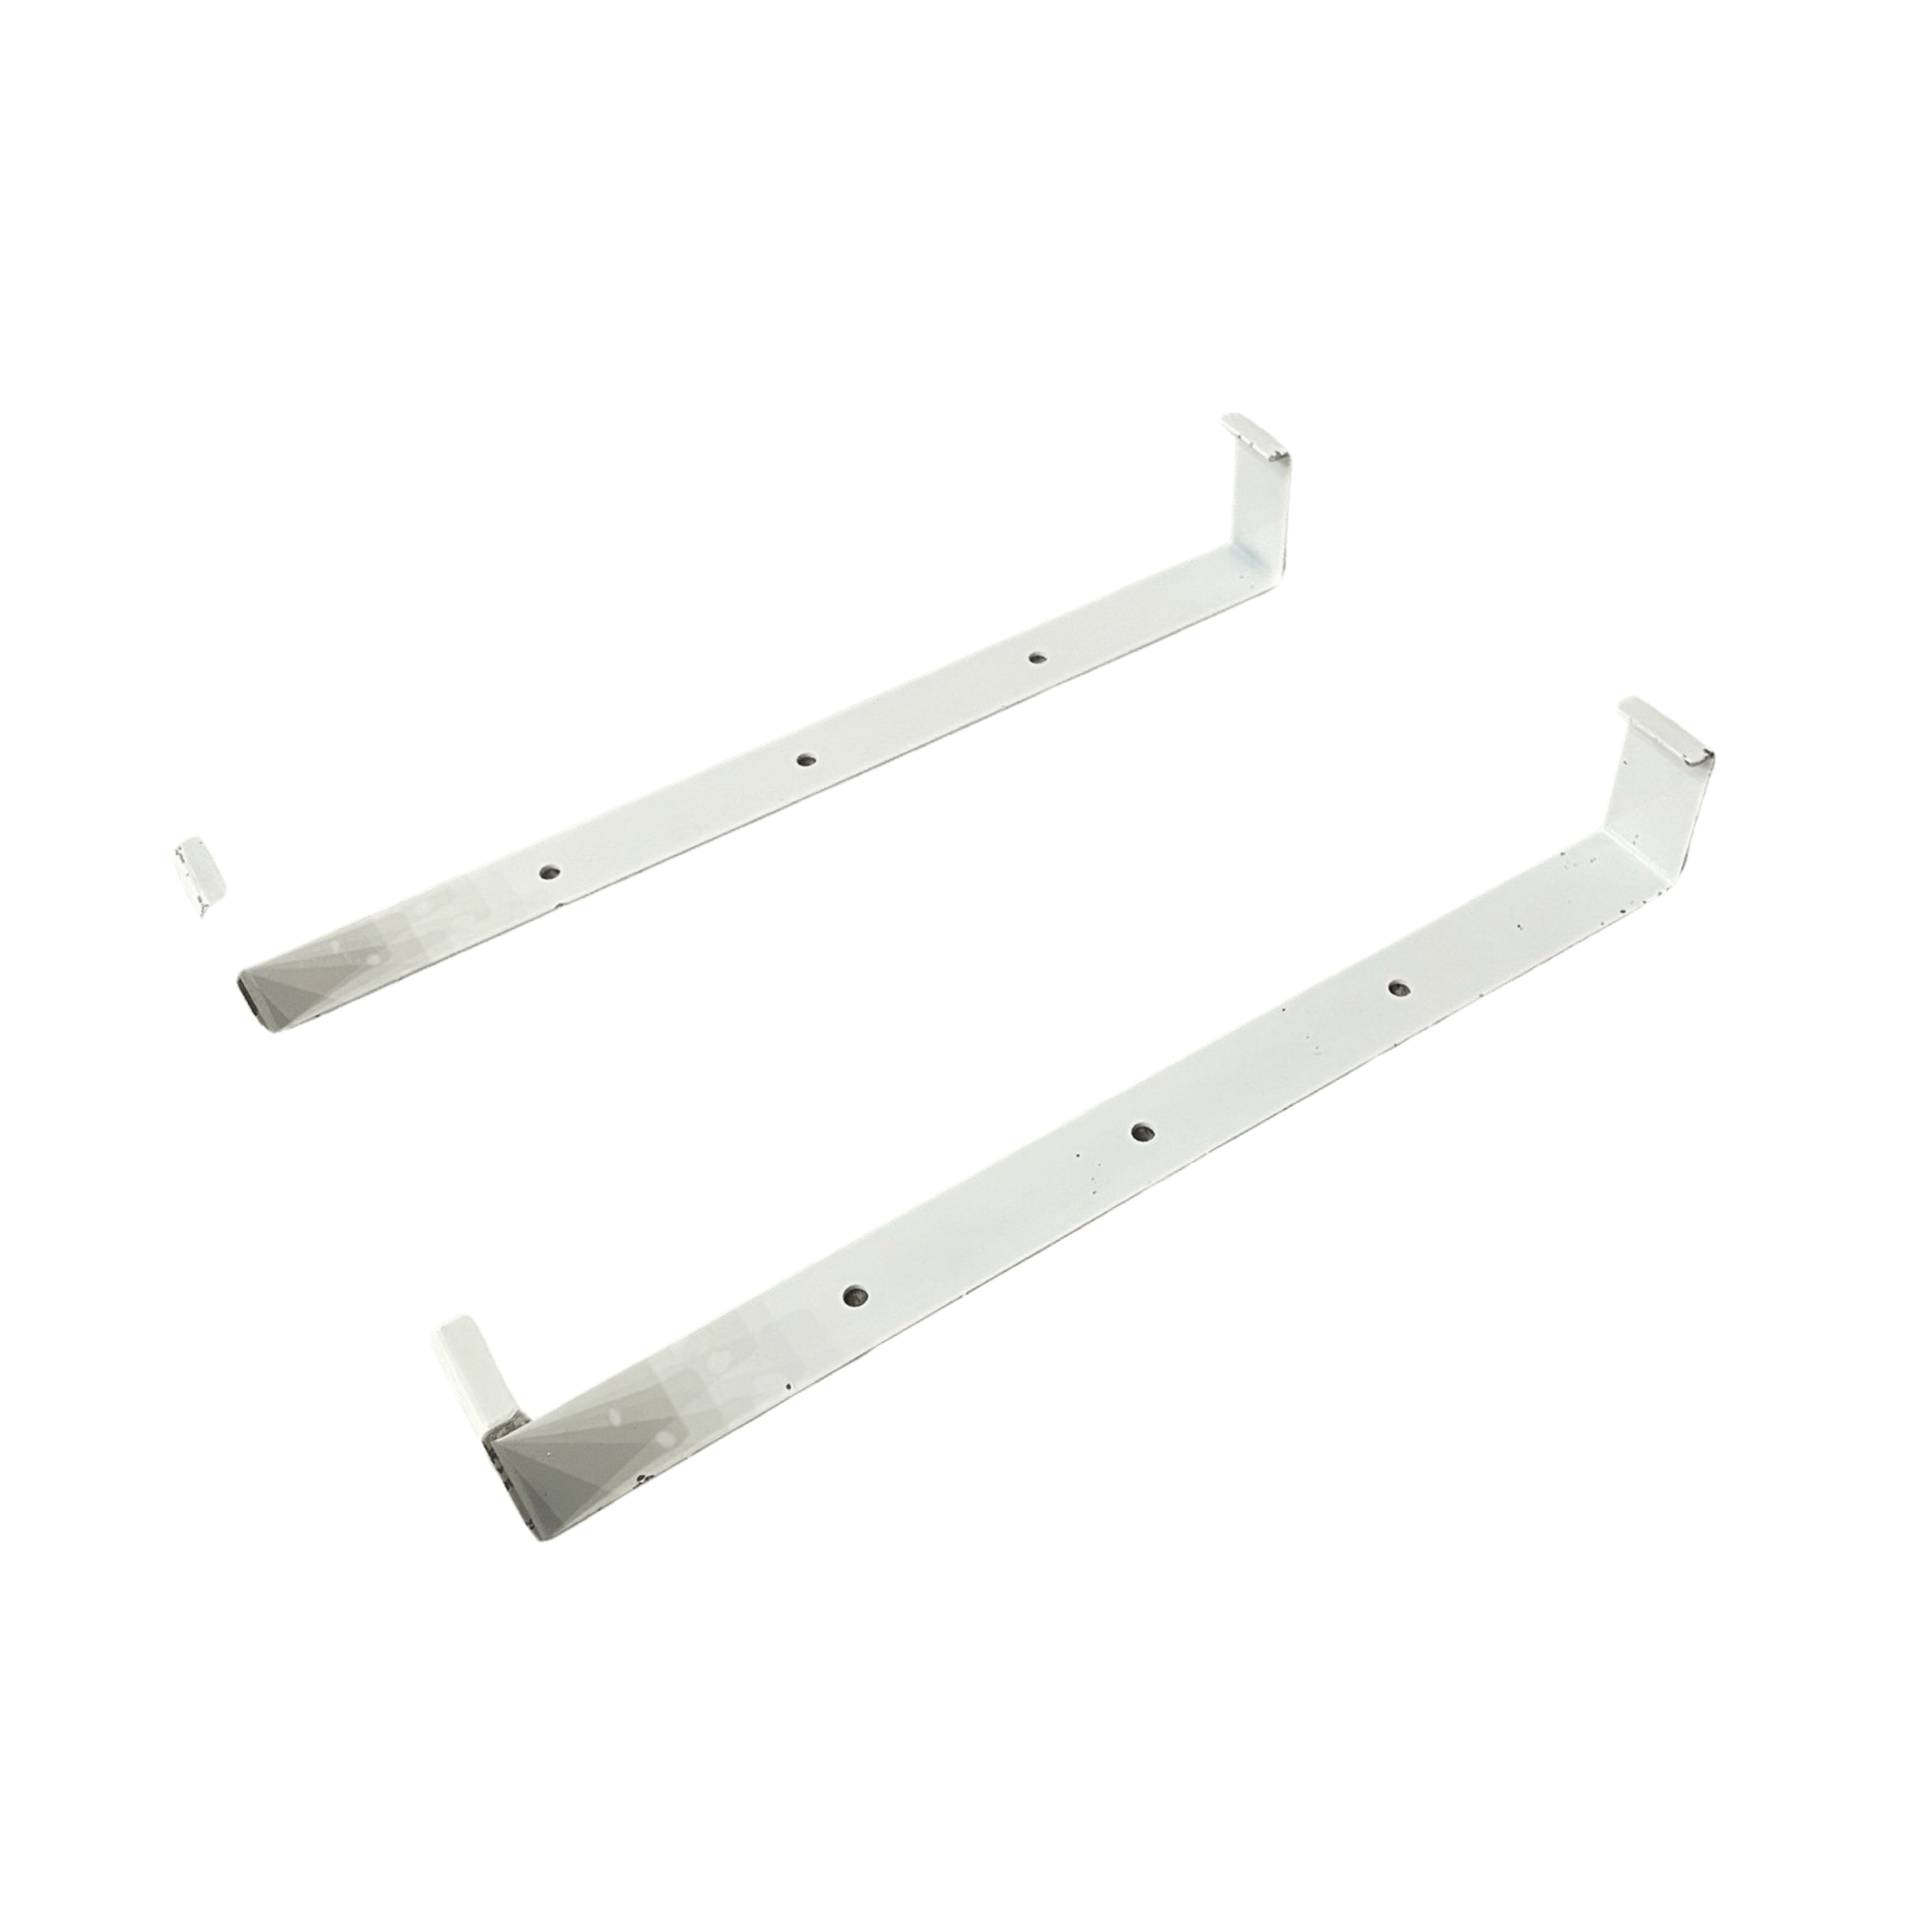
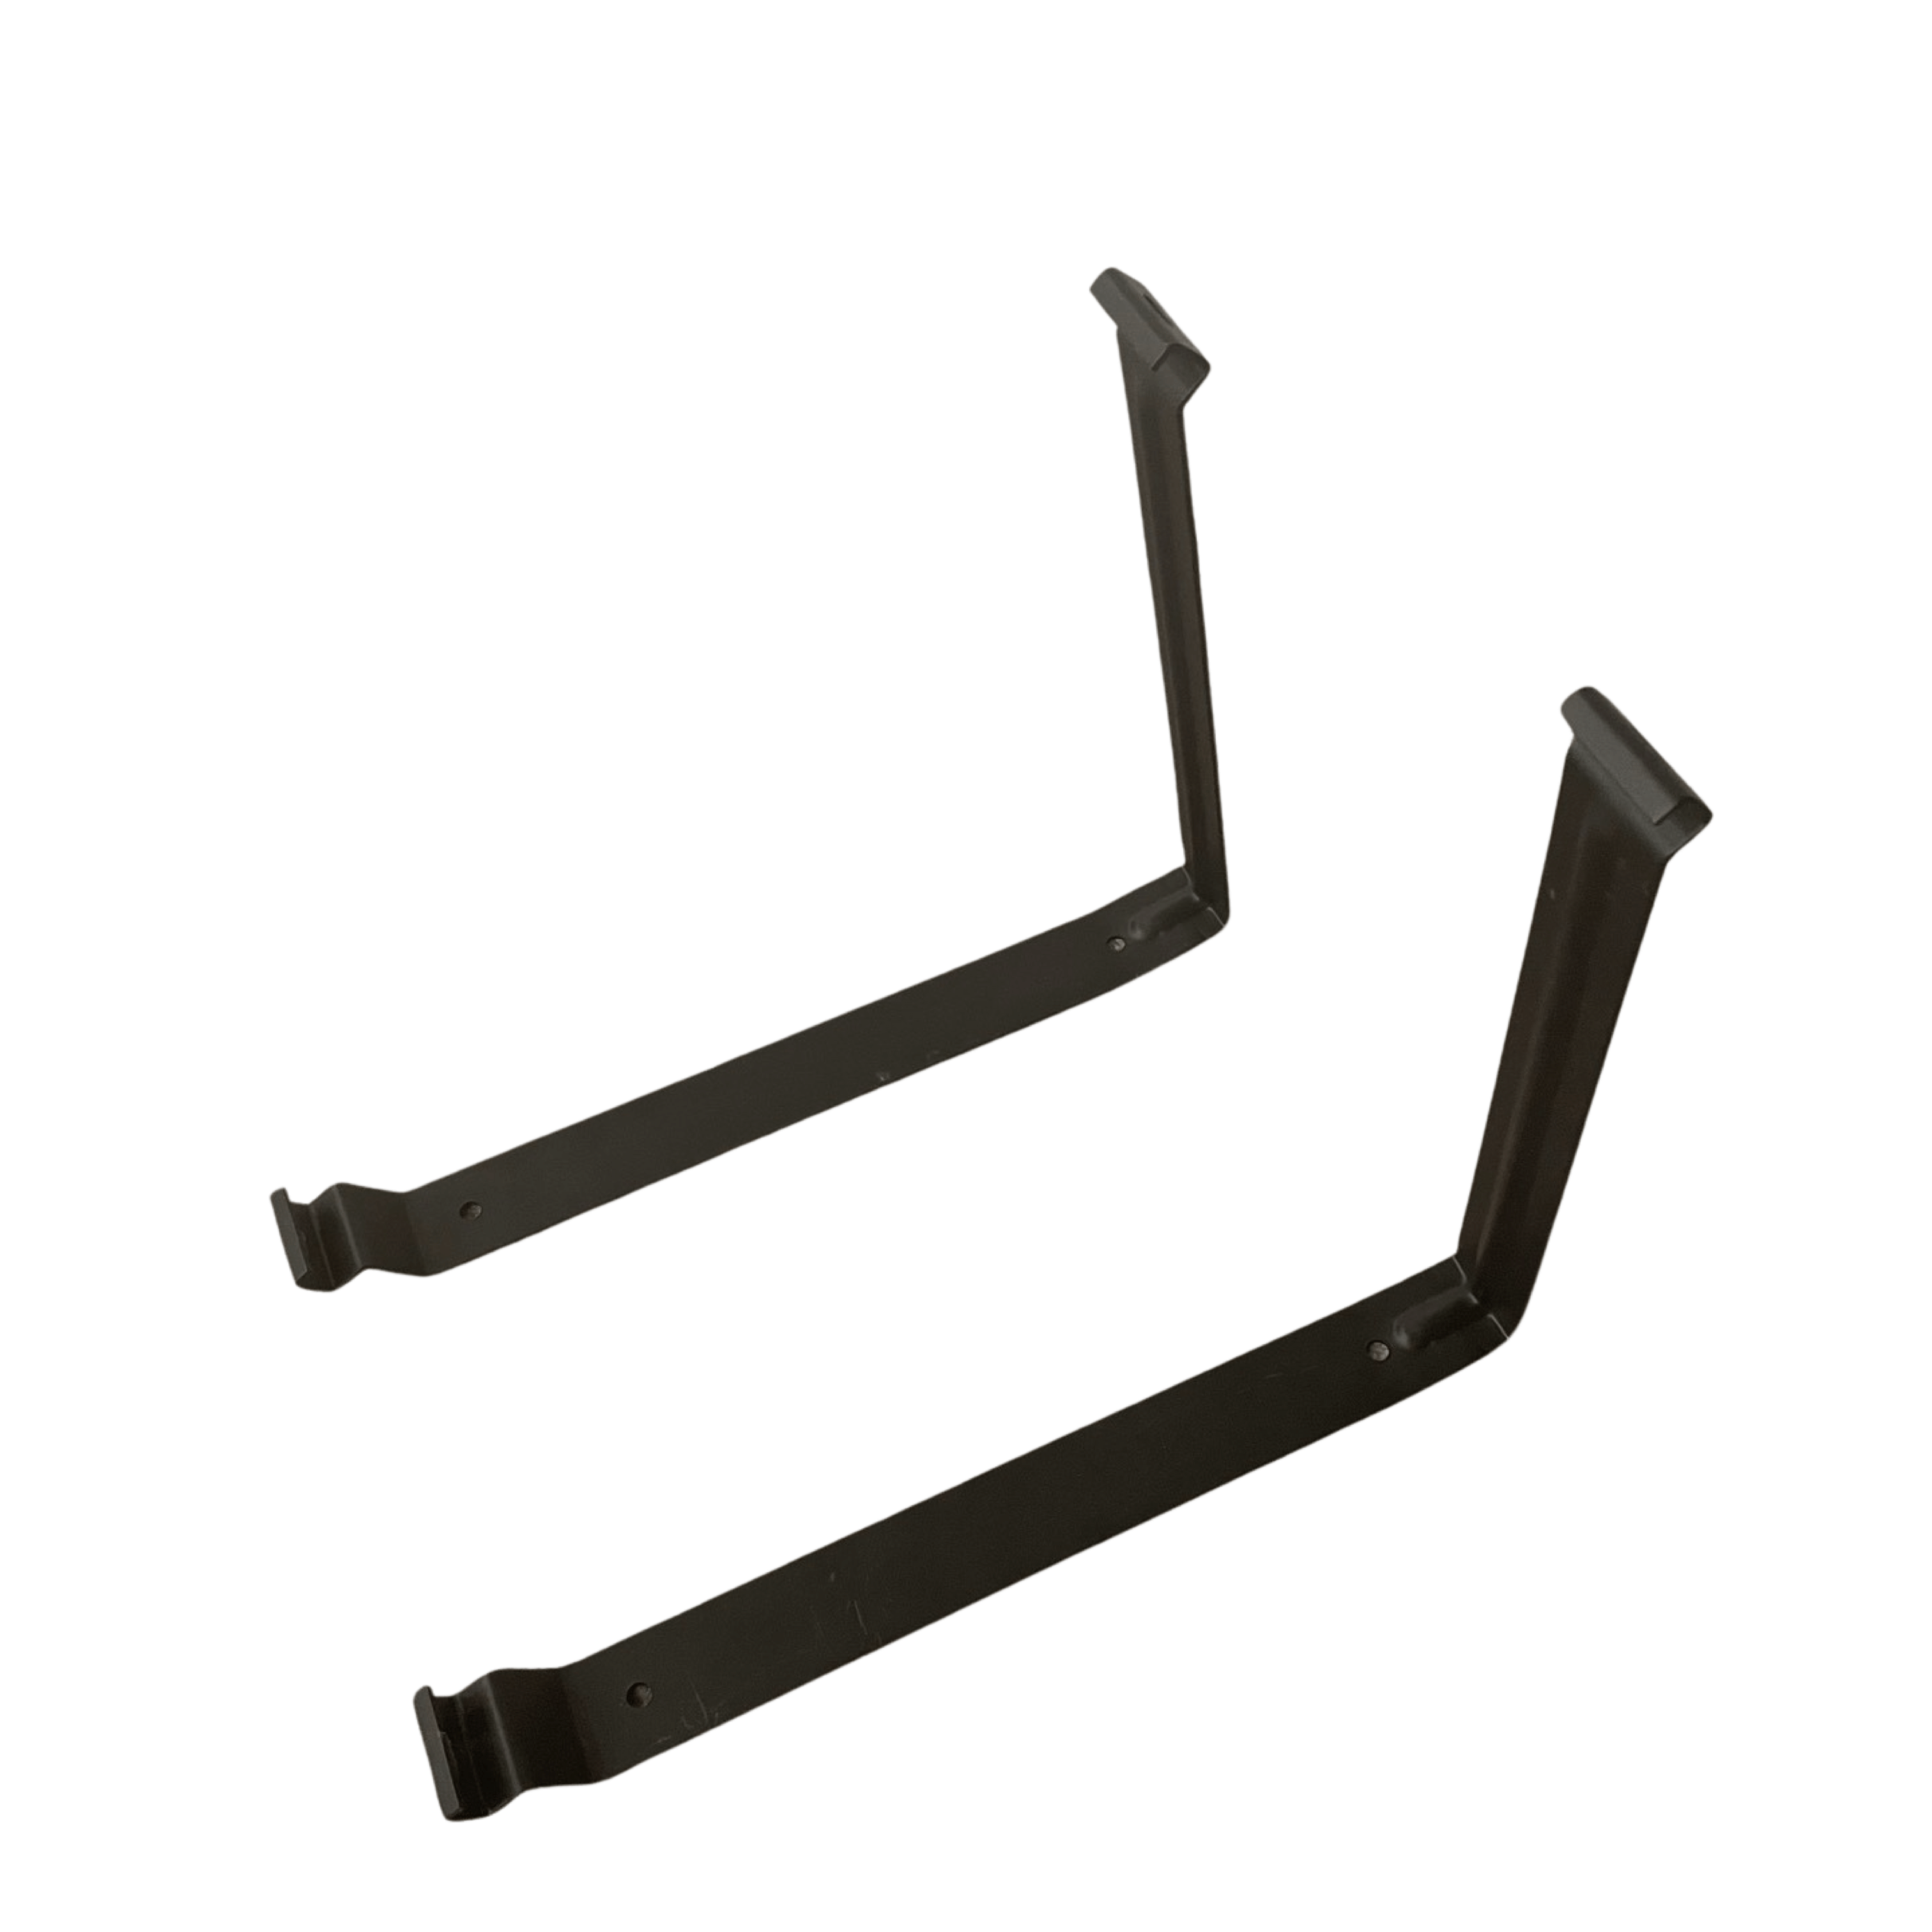
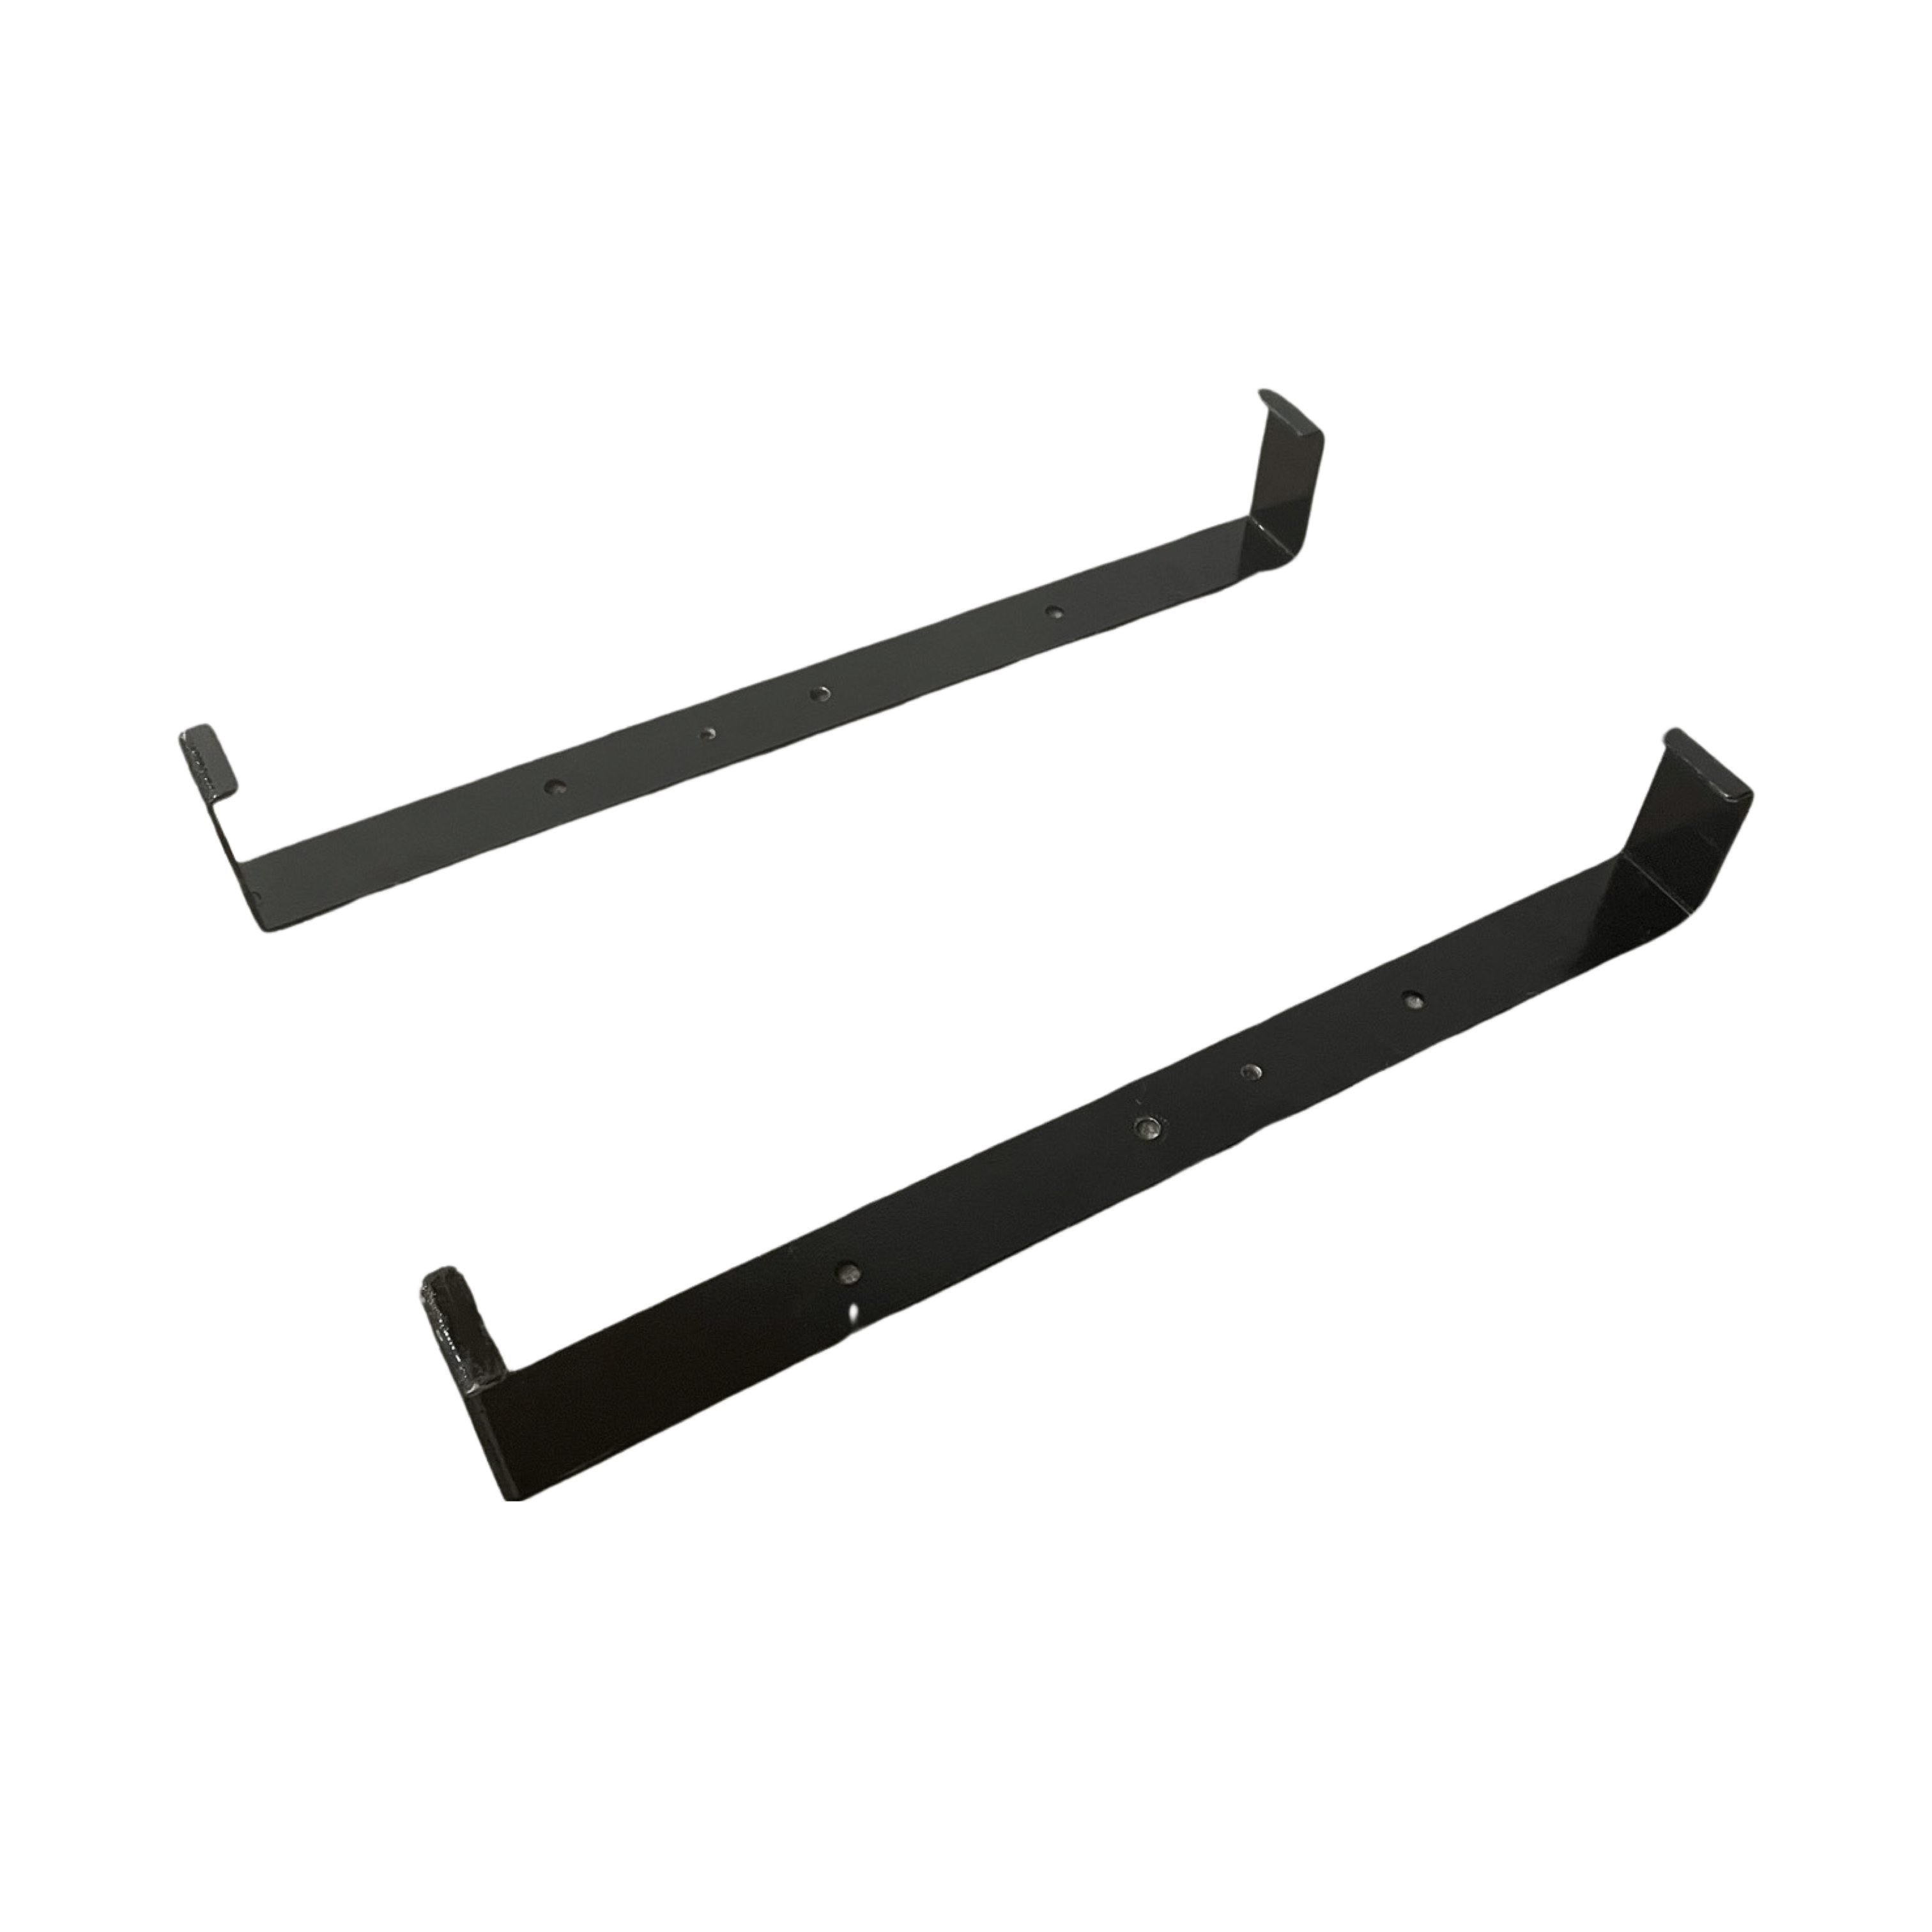
Installation Hardware:
- Use toggle bolts that can withstand the weight of the heater
- Install the heater in the ceiling studs
- Use lever nuts for connections versus wire nuts
- This will ensure the longevity of the connection
Position:
- Ceiling mount heaters: recommended in the middle of the room which will have the best chance to equally heat the room
- Heaters can also go over a window to help offset the cold from the window
- If you have multiple heaters, place the heaters an equal distance apart to ensure equal distribution of heat
- If you are wall mounting, be sure to leave 6” in between the top of the heater and the ceiling per manufacturer instructions
- If you have a sloped ceiling (shed, cathedral, etc.) position the heaters horizontally versus vertically. The steep incline is not recommended for installation.
Thermostat:
- Thermostat should be installed in the “line of sight” of the heater
- Out of direct sunlight
- On an interior wall
Please refer to the installation/operation manual
What do I do when my heater stops working?
- Check to see if your thermostat’s display is visible
- If yes, turn the thermostats temperature up so it is on and verify if heat is radiating from the heater
- If no, verify the following:
- The dedicated breaker is on
- Is there too many electrical appliances on the same circuit?
- If the breaker is on, call and schedule your electrician to identify the following:
- Power to the thermostat
- Power to the heater
- Take an Ohm Test
- Make sure that your electrical circuit is the same voltage as the heater and thermostat, i.e. 120 volts.
- Is there power to the thermostat and is the thermostat responding when calling for heat?
- The power to the thermostat should be 120/240/208 your electrician can measure this with a multimeter
- Does your thermostat engage when you press buttons?
- If your thermostat does not respond, you will need a replacement thermostat
- If your thermostat is receiving power and responding when engaged, have your electrician confirm power to the heater and take an Ohm Test in order to comply with manufacturer warranty requirements.
- Follow this link, for steps to take an Ohm Test
- If the results of the Ohm test show 1 or OL, contact Heating Green for more information on your product’s warranty.
- If the results show a numerical result, the heater does have resistance and there is a disruption with the electrical circuit that is not within the heater.
- Check for shorts on the electrical line, or issues with the breaker.
- Common issues include:
- Shorts on the wire
- Overloaded amperage capacity
- Insufficient connections
Wire nuts are proven to not hold the connections over time and our manufacturer recommends using lever nuts or lever connectors
Recommend Yes
Put these in our second yoga studio location and it got us up to 110 without HVAC heat. Wow!
Recommend YES
We are able to reach 110 within an hr. Love the product
Sizing and ordering to delivery was great
customer service is always the best. quick and to the point replys and help!
Great to deal with. Easy order.