Radiant Electric Heat Cove Heater wall/ceiling mount
$580.00 – $995.00Price range: $580.00 through $995.00
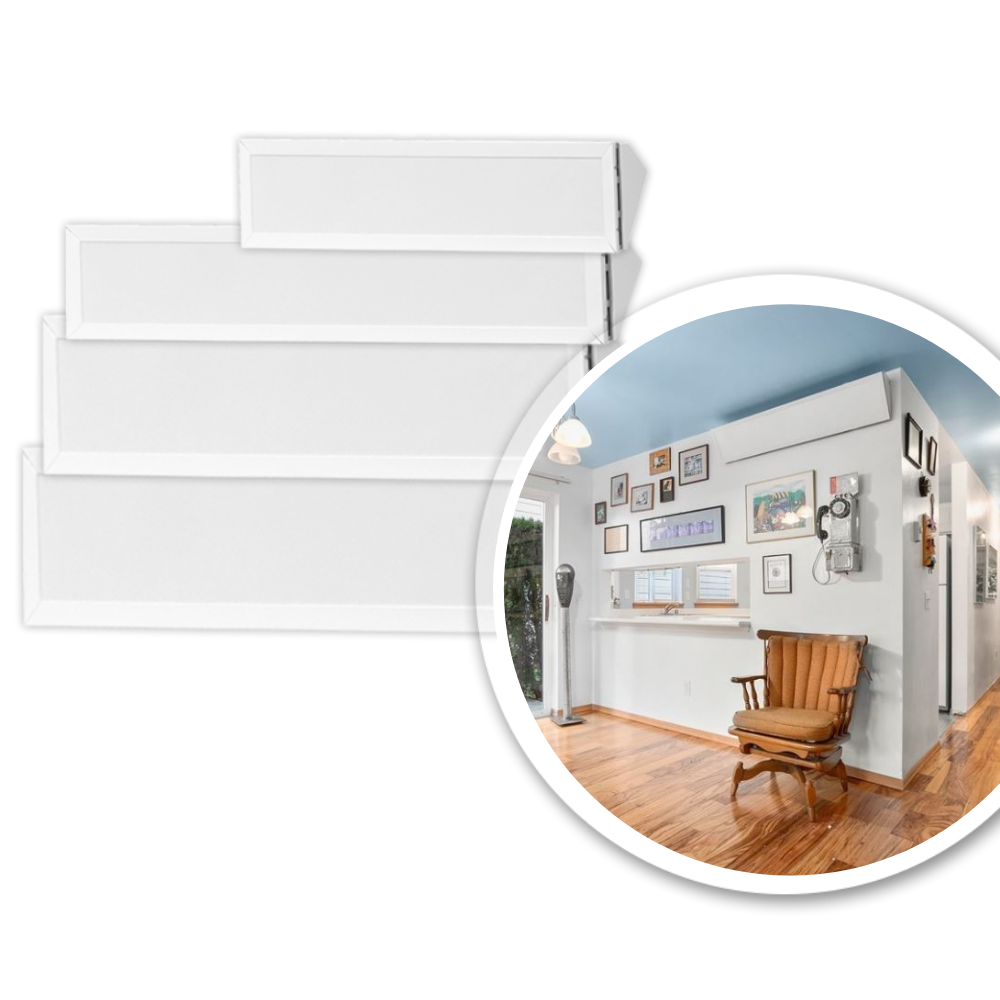
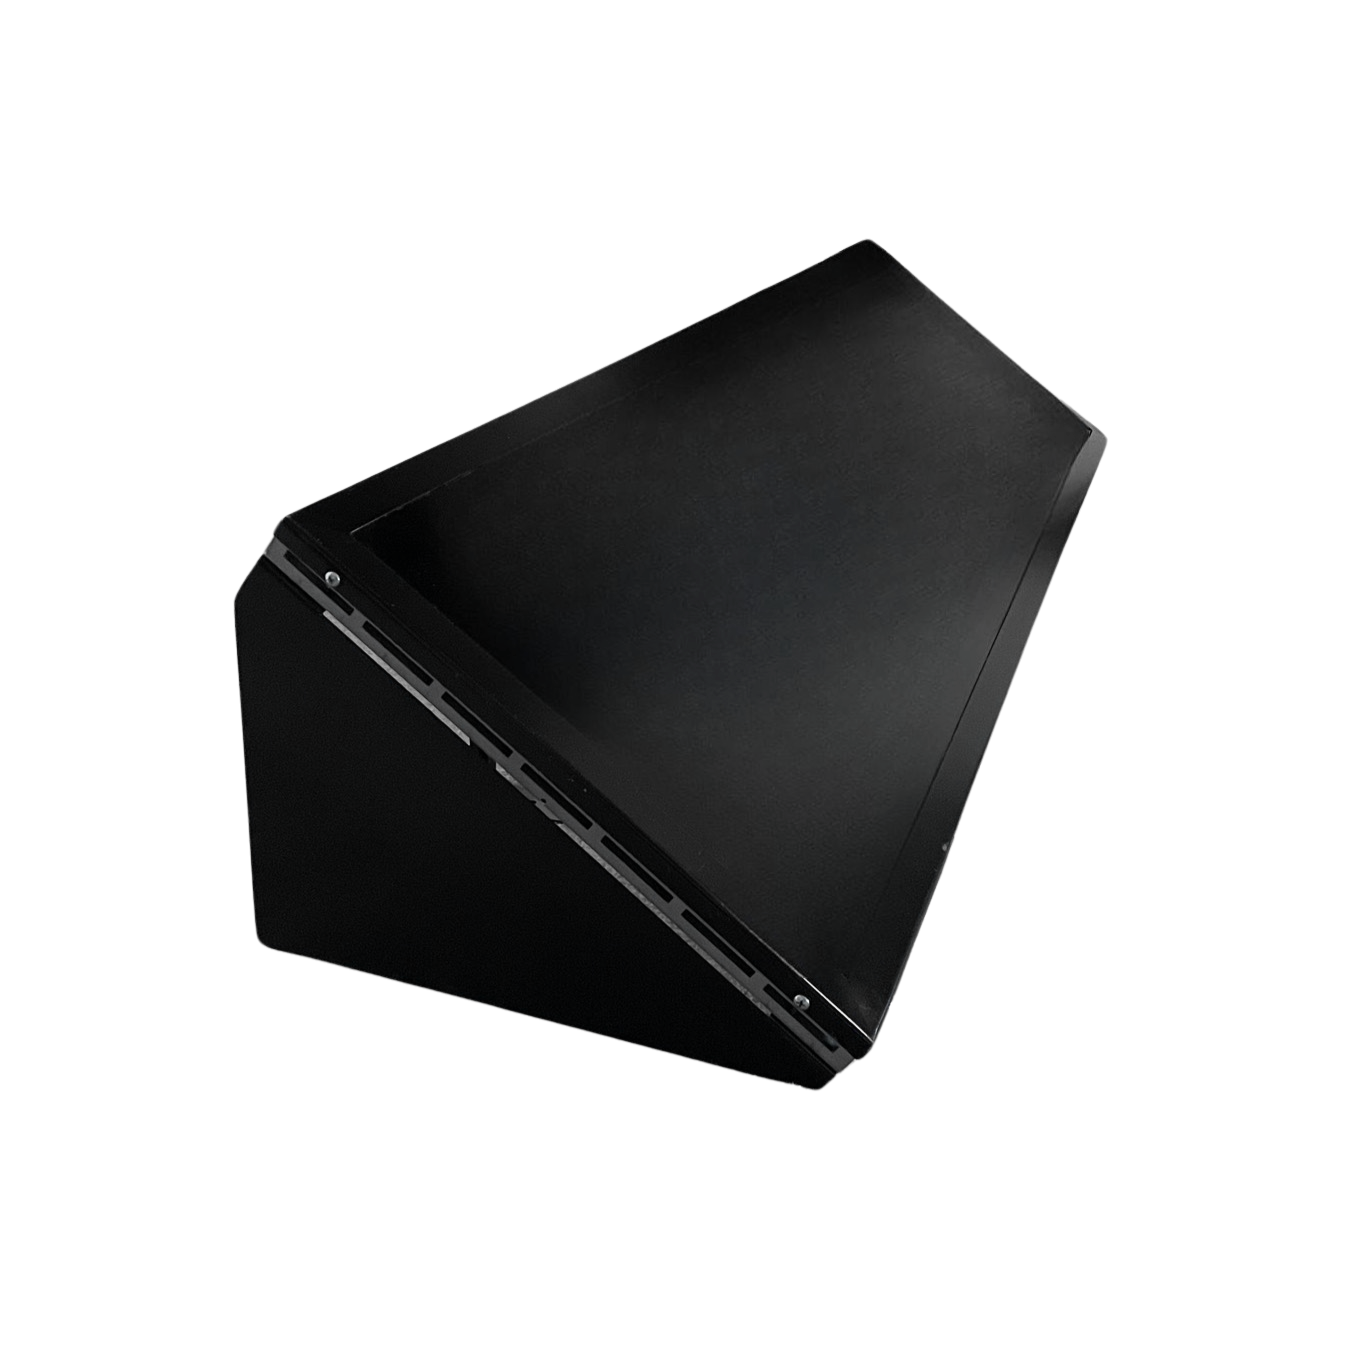
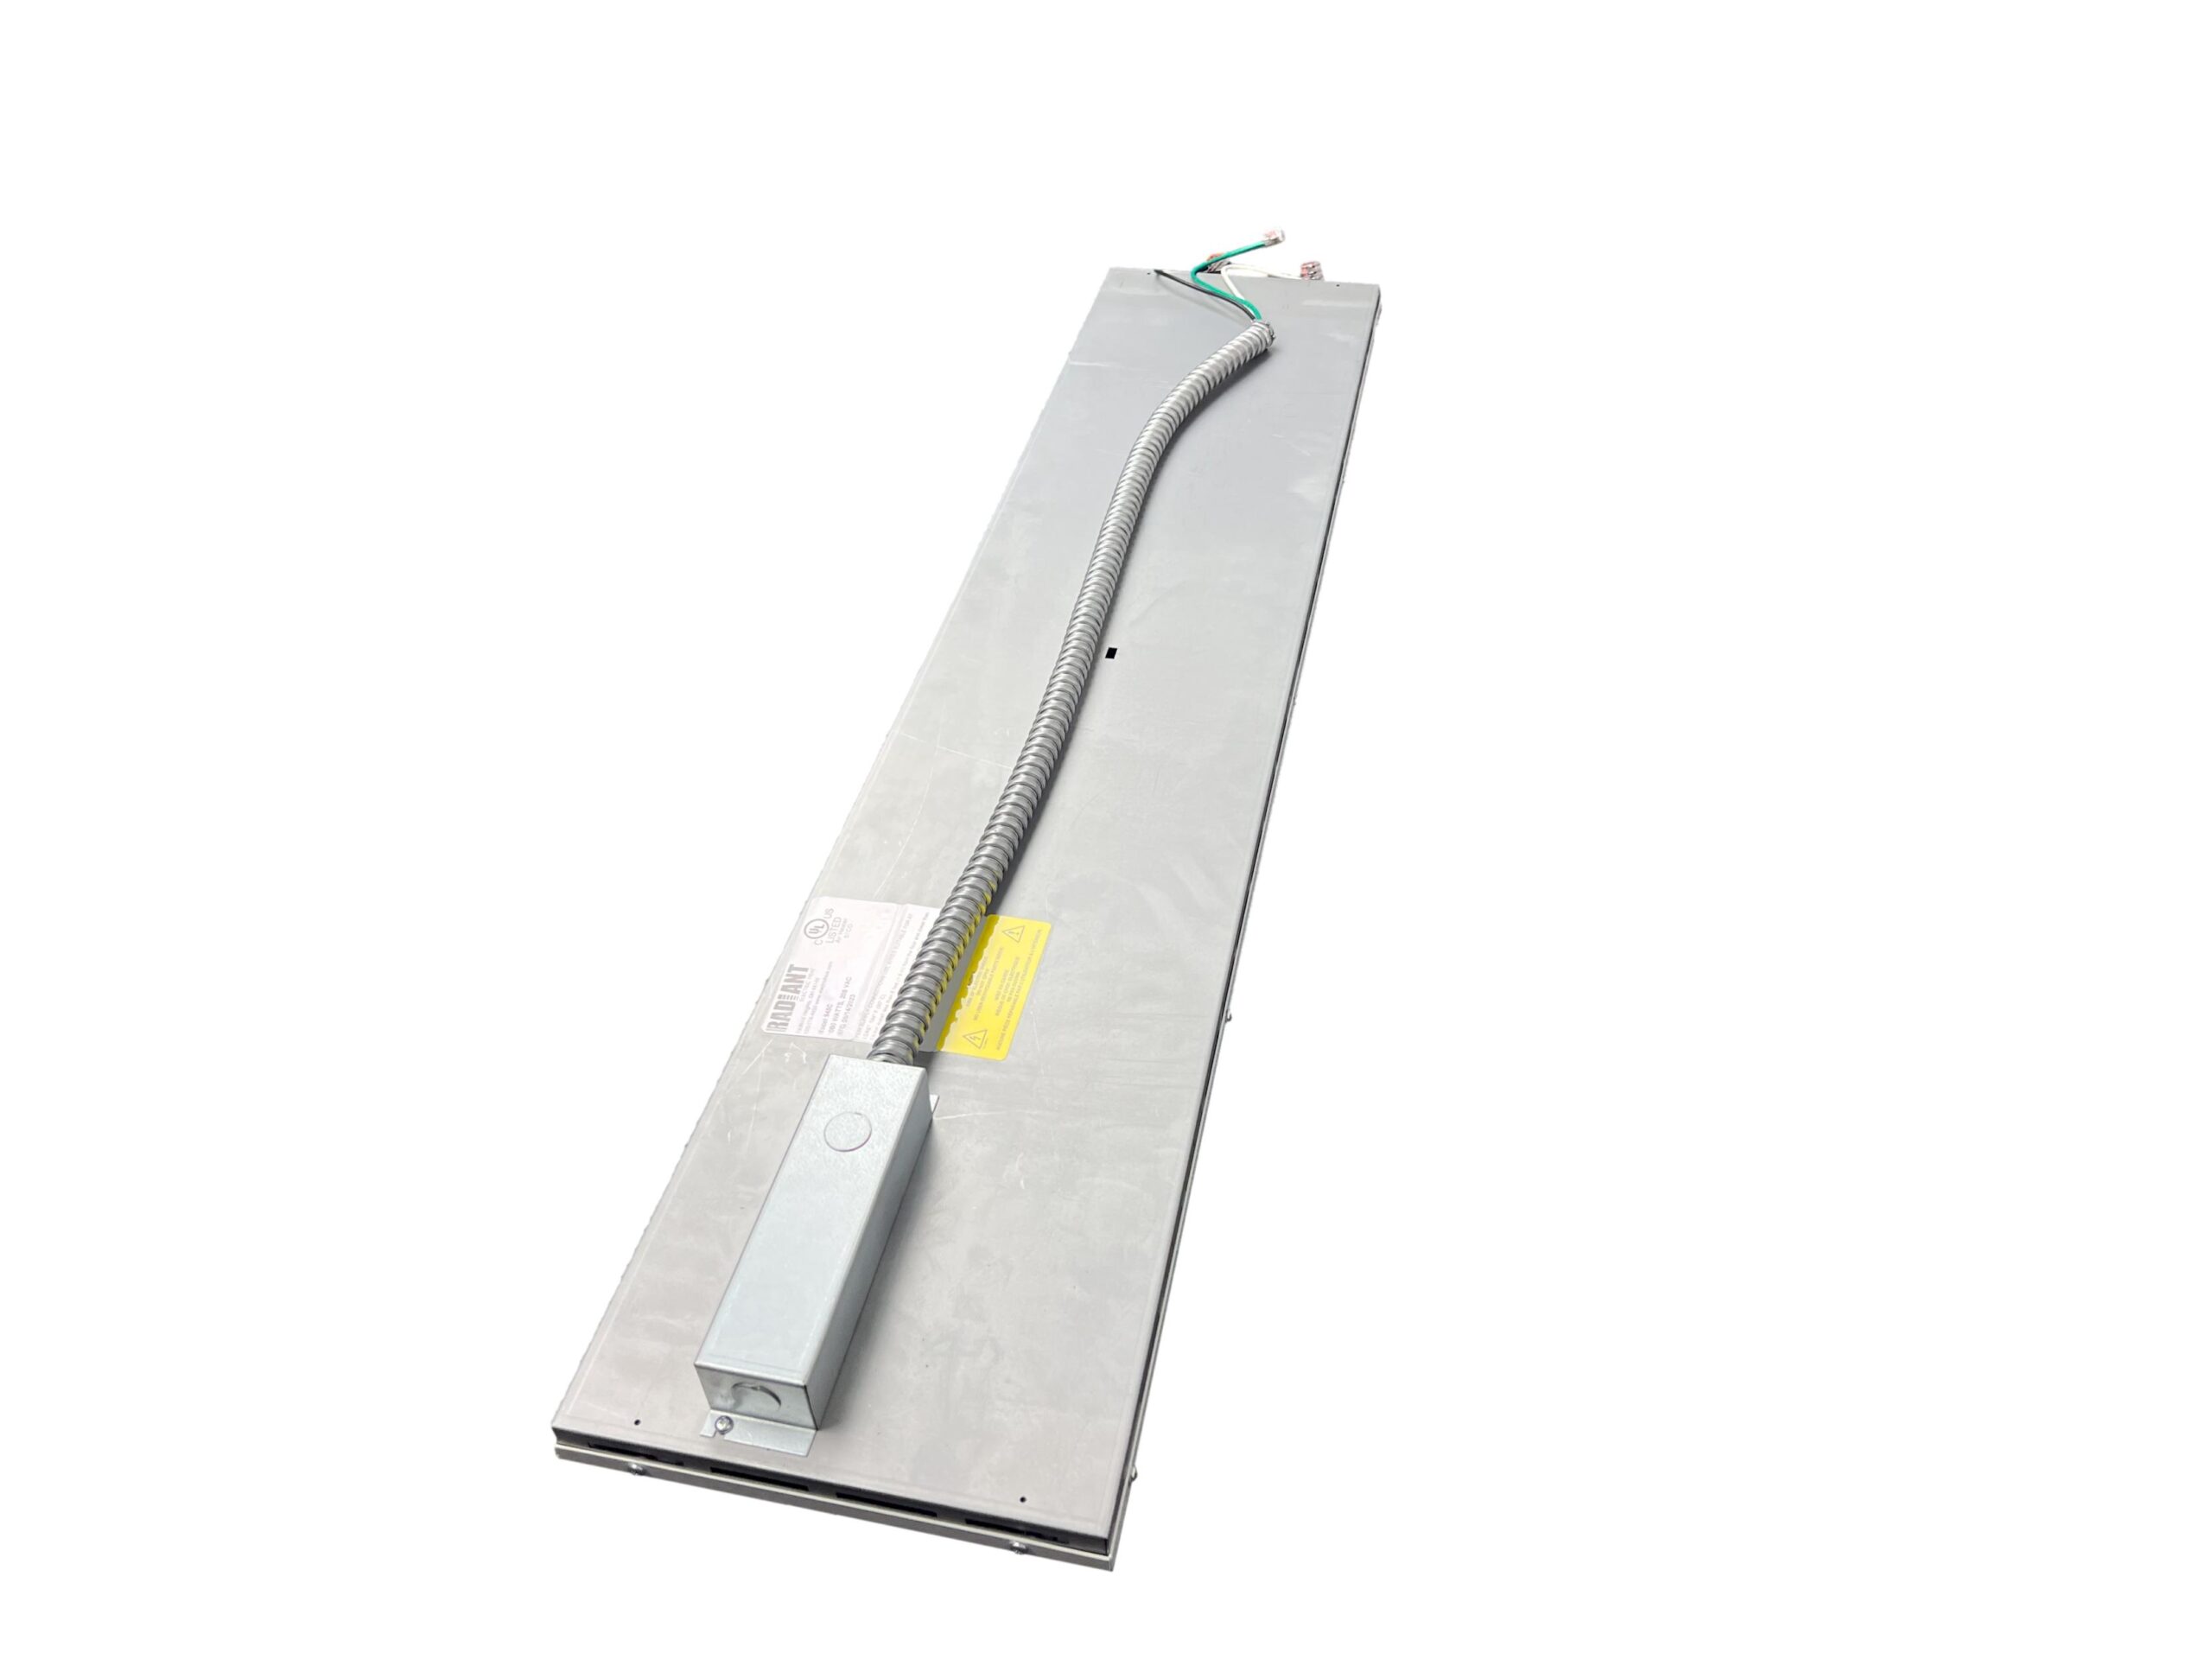
Radiant Electric Heat Cove Heater, experience the sun-like warmth from the cove heater and you’ll never go back to forced air!
The highest radiant output of any cove heater -425F/218C
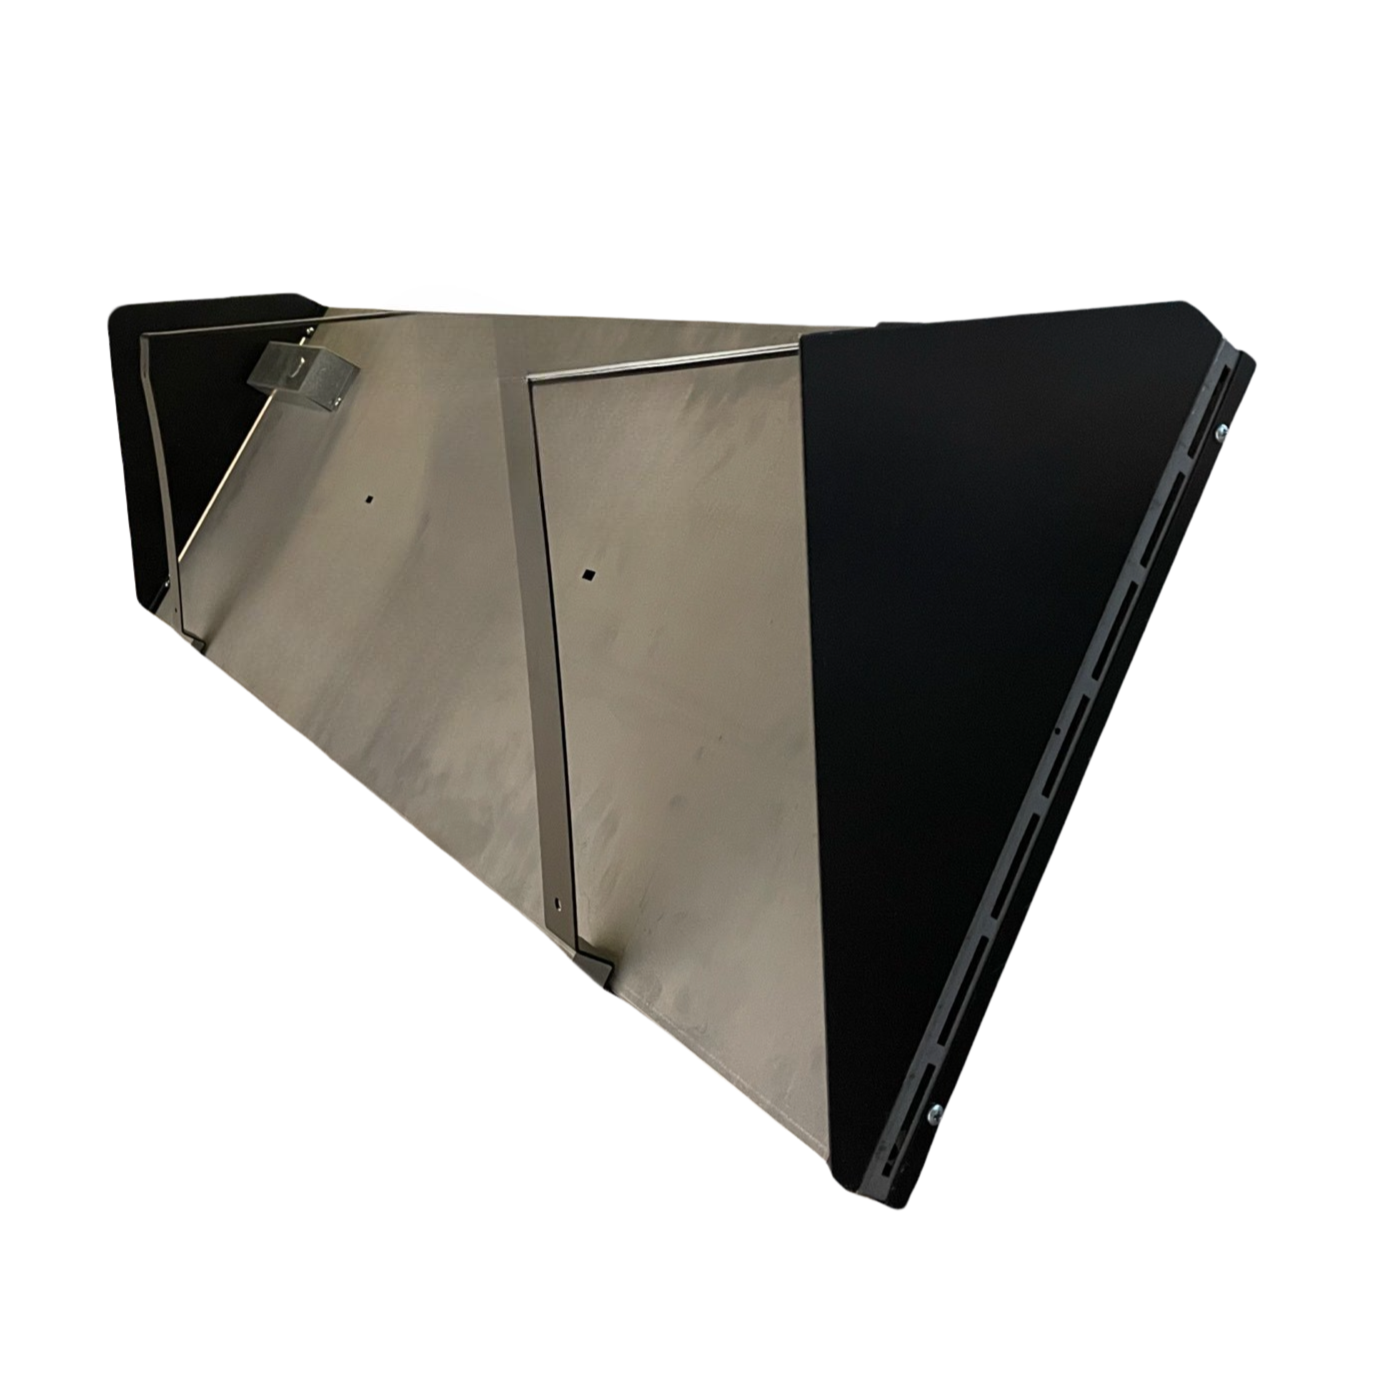
- Install on the wall or on the ceiling or suspended down from the ceiling
- Four sizes – 585, 825, 1000, and 1500 watt
- Popular with our residential and commercial yoga studios!
- Made in the USA
How much heat do I need?
- Supplemental: 3 – 5+ watts/SF
- Primary: 6 – 8+ watts/SF
- Bathrooms: 10 watts+/SF
- Yoga studio and fitness applications: 15 – 30 watts/SF
The versatile Radiant Electric Heat – Cove Heater is one of our most popular heating options. It can be placed on walls, in coves, or on the ceiling. It’s used for hot yoga studios, bedrooms, workshops, garages, and just about anywhere that needs heat without ductwork. Low cost, no maintenance, and no noise.
- Excellent for offices, basements, bedrooms, high or vaulted ceilings, and yoga studios
- Stock color is white and is available in all sizes
- Black color available in 1,000 watts and 1,500-watt sizes
- Heater reaches its maximum temperature of 425F/171C
- C UL US (Approved for the US and Canada)
- Far infrared spectrum (FIR) heater
Frequently Asked Questions
Installation Hardware:
- Use toggle bolts that can withstand the weight of the heater
- Install the heater in the ceiling studs
- Use lever nuts for connections versus wire nuts
- This will ensure the longevity of the connection
Position:
- Ceiling mount heaters: recommended in the middle of the room which will have the best chance to equally heat the room
- Heaters can also go over a window to help offset the cold from the window
- If you have multiple heaters, place the heaters an equal distance apart to ensure equal distribution of heat
- If you are wall mounting, be sure to leave 6” in between the top of the heater and the ceiling per manufacturer instructions
- If you have a sloped ceiling (shed, cathedral, etc.) position the heaters horizontally versus vertically. The steep incline is not recommended for installation.
Thermostat:
- Thermostat should be installed in the “line of sight” of the heater
- Out of direct sunlight
- On an interior wall
- Check to see if your thermostat’s display is visible
- If yes, turn the thermostats temperature up so it is on and verify if heat is radiating from the heater
- If no, verify the following:
- The dedicated breaker is on
- Is there too many electrical appliances on the same circuit?
- If the breaker is on, call and schedule your electrician to identify the following:
- Power to the thermostat
- Power to the heater
- Take an Ohm Test
- Make sure that your electrical circuit is the same voltage as the heater and thermostat, i.e. 120 volts.
- Is there power to the thermostat and is the thermostat responding when calling for heat?
- The power to the thermostat should be 120/240/208 your electrician can measure this with a multimeter
- Does your thermostat engage when you press buttons?
- If your thermostat does not respond, you will need a replacement thermostat
- If your thermostat is receiving power and responding when engaged, have your electrician confirm power to the heater and take a few tests in order to comply with manufacturer warranty requirements.
- Follow this link, for Radiant Electric Heat’s Troubleshooting and Warranty steps.
- Your electrician will need to document ALL the required steps in order to be eligible for a warranty claim.
- Submit your warranty claim using this link and fill out the requested form.
Specifications
Cove Heater Specifications:
NOTE: Specifications shown at 240 volt, also available at 120, 208, and 277 volts.
| Size | Watts | Amps | BTUs |
| 33x7x1.125″ | 585 | 2.4 | 2,000 |
| 46x7x1.125″ | 825 | 3.4 | 2,815 |
| 46x10x1.125″ | 1,000 | 4.2 | 3,413 |
| 46x15x1.125″ | 1,500 | 6.3 | 5,120 |
Documents
- Customer and Contractor Check List Requirements for Installation and Operation
- REH Cove Heater Manual 2024
- Cove Heating Green Infrared Installation Guide for Yoga Studios
- Cove Heater Best Practices for Installation
- Cove heater REH-3-part-Specification
- Cove-Heater-Submittal-Sheet
- Cove Heater-Cut-Sheet
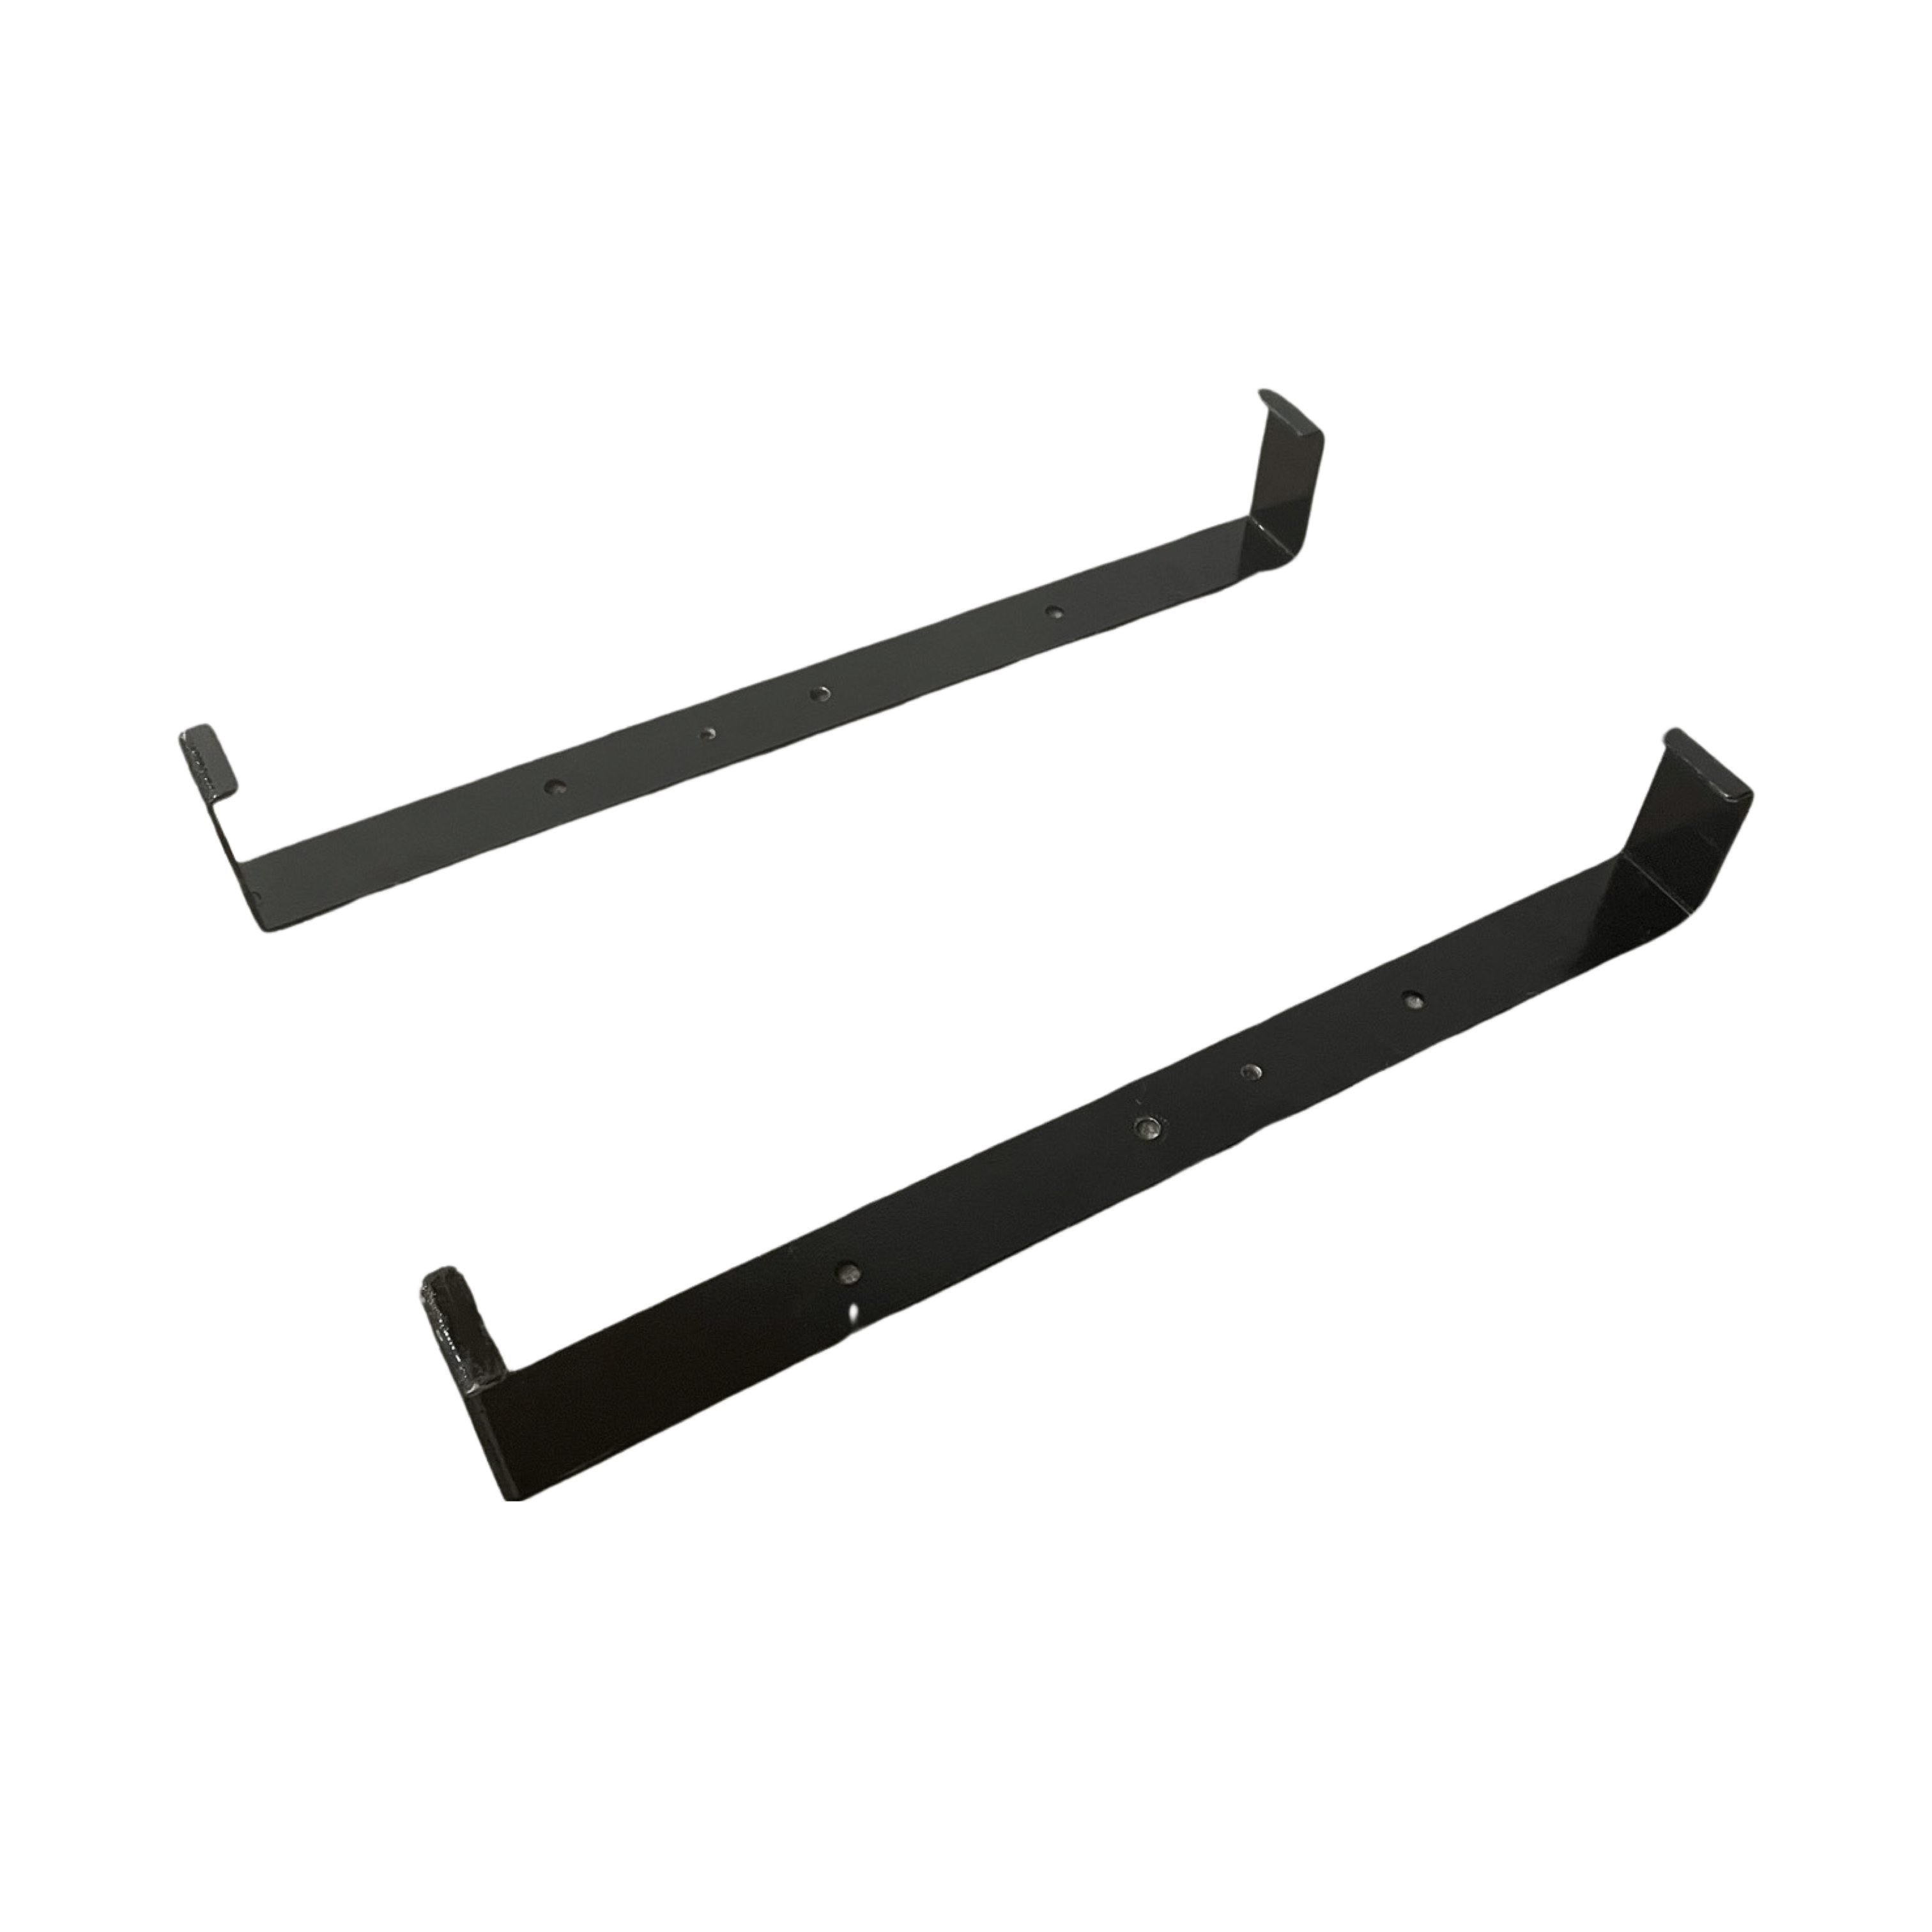
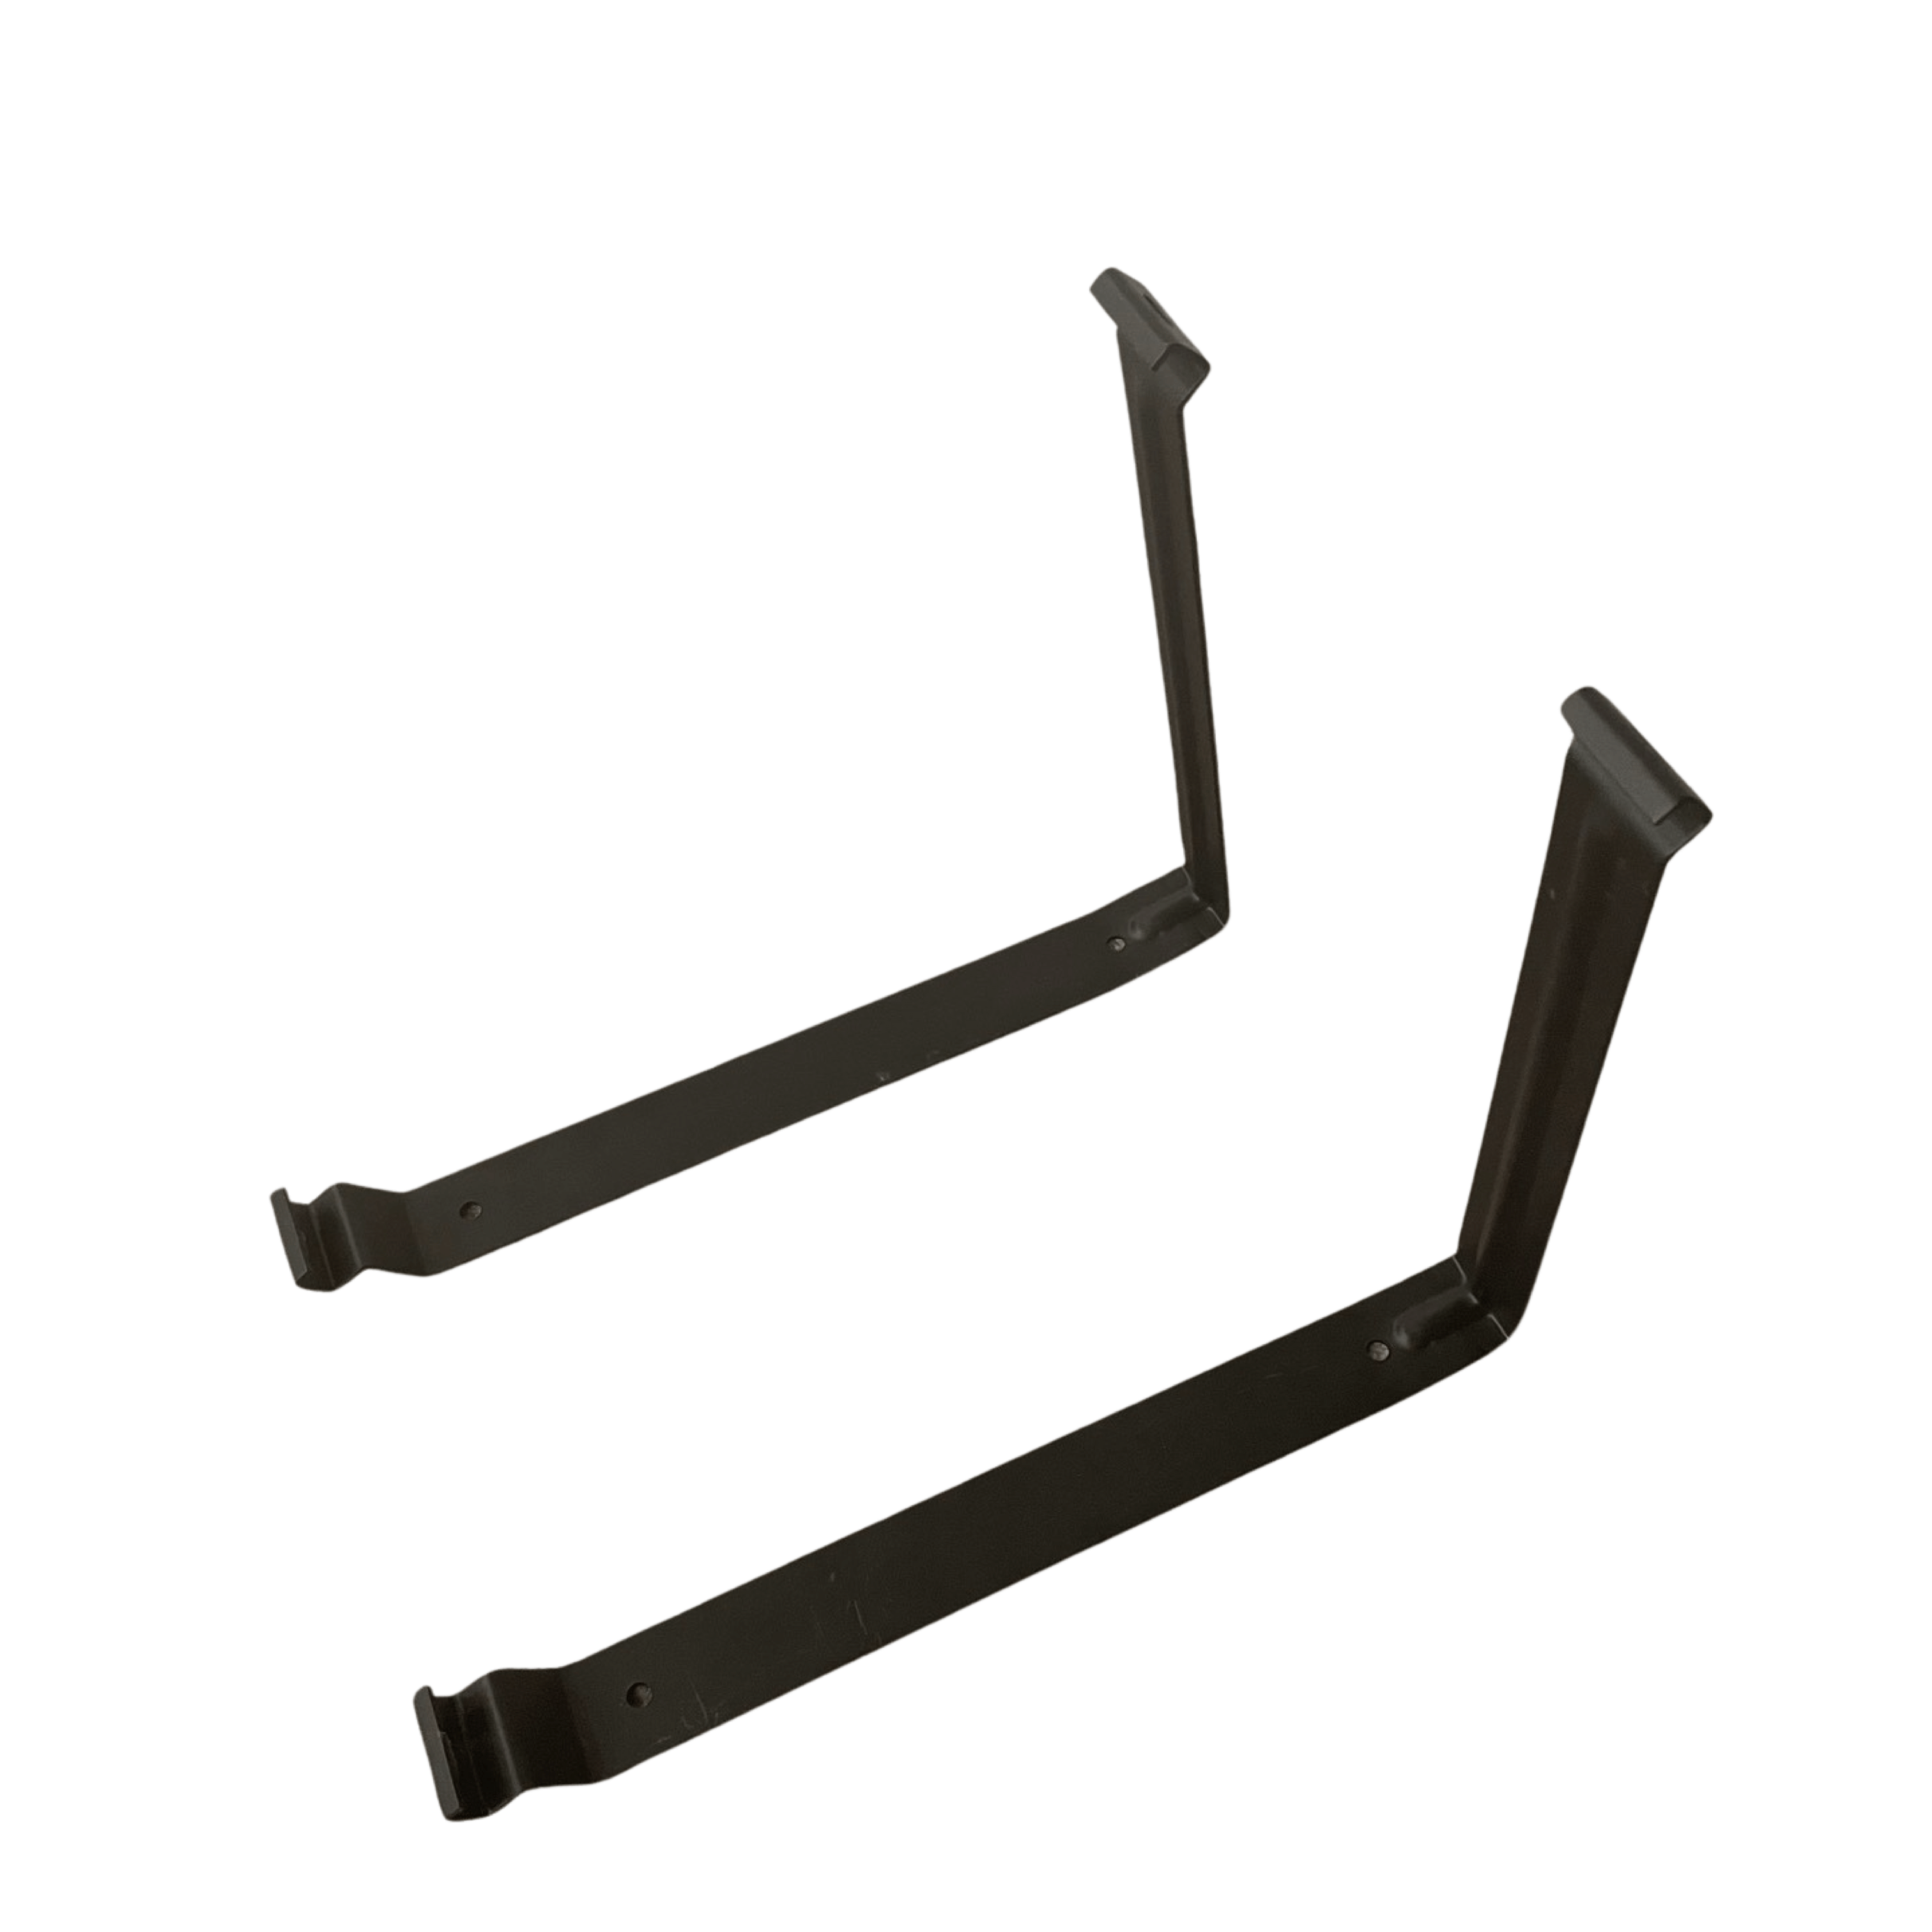
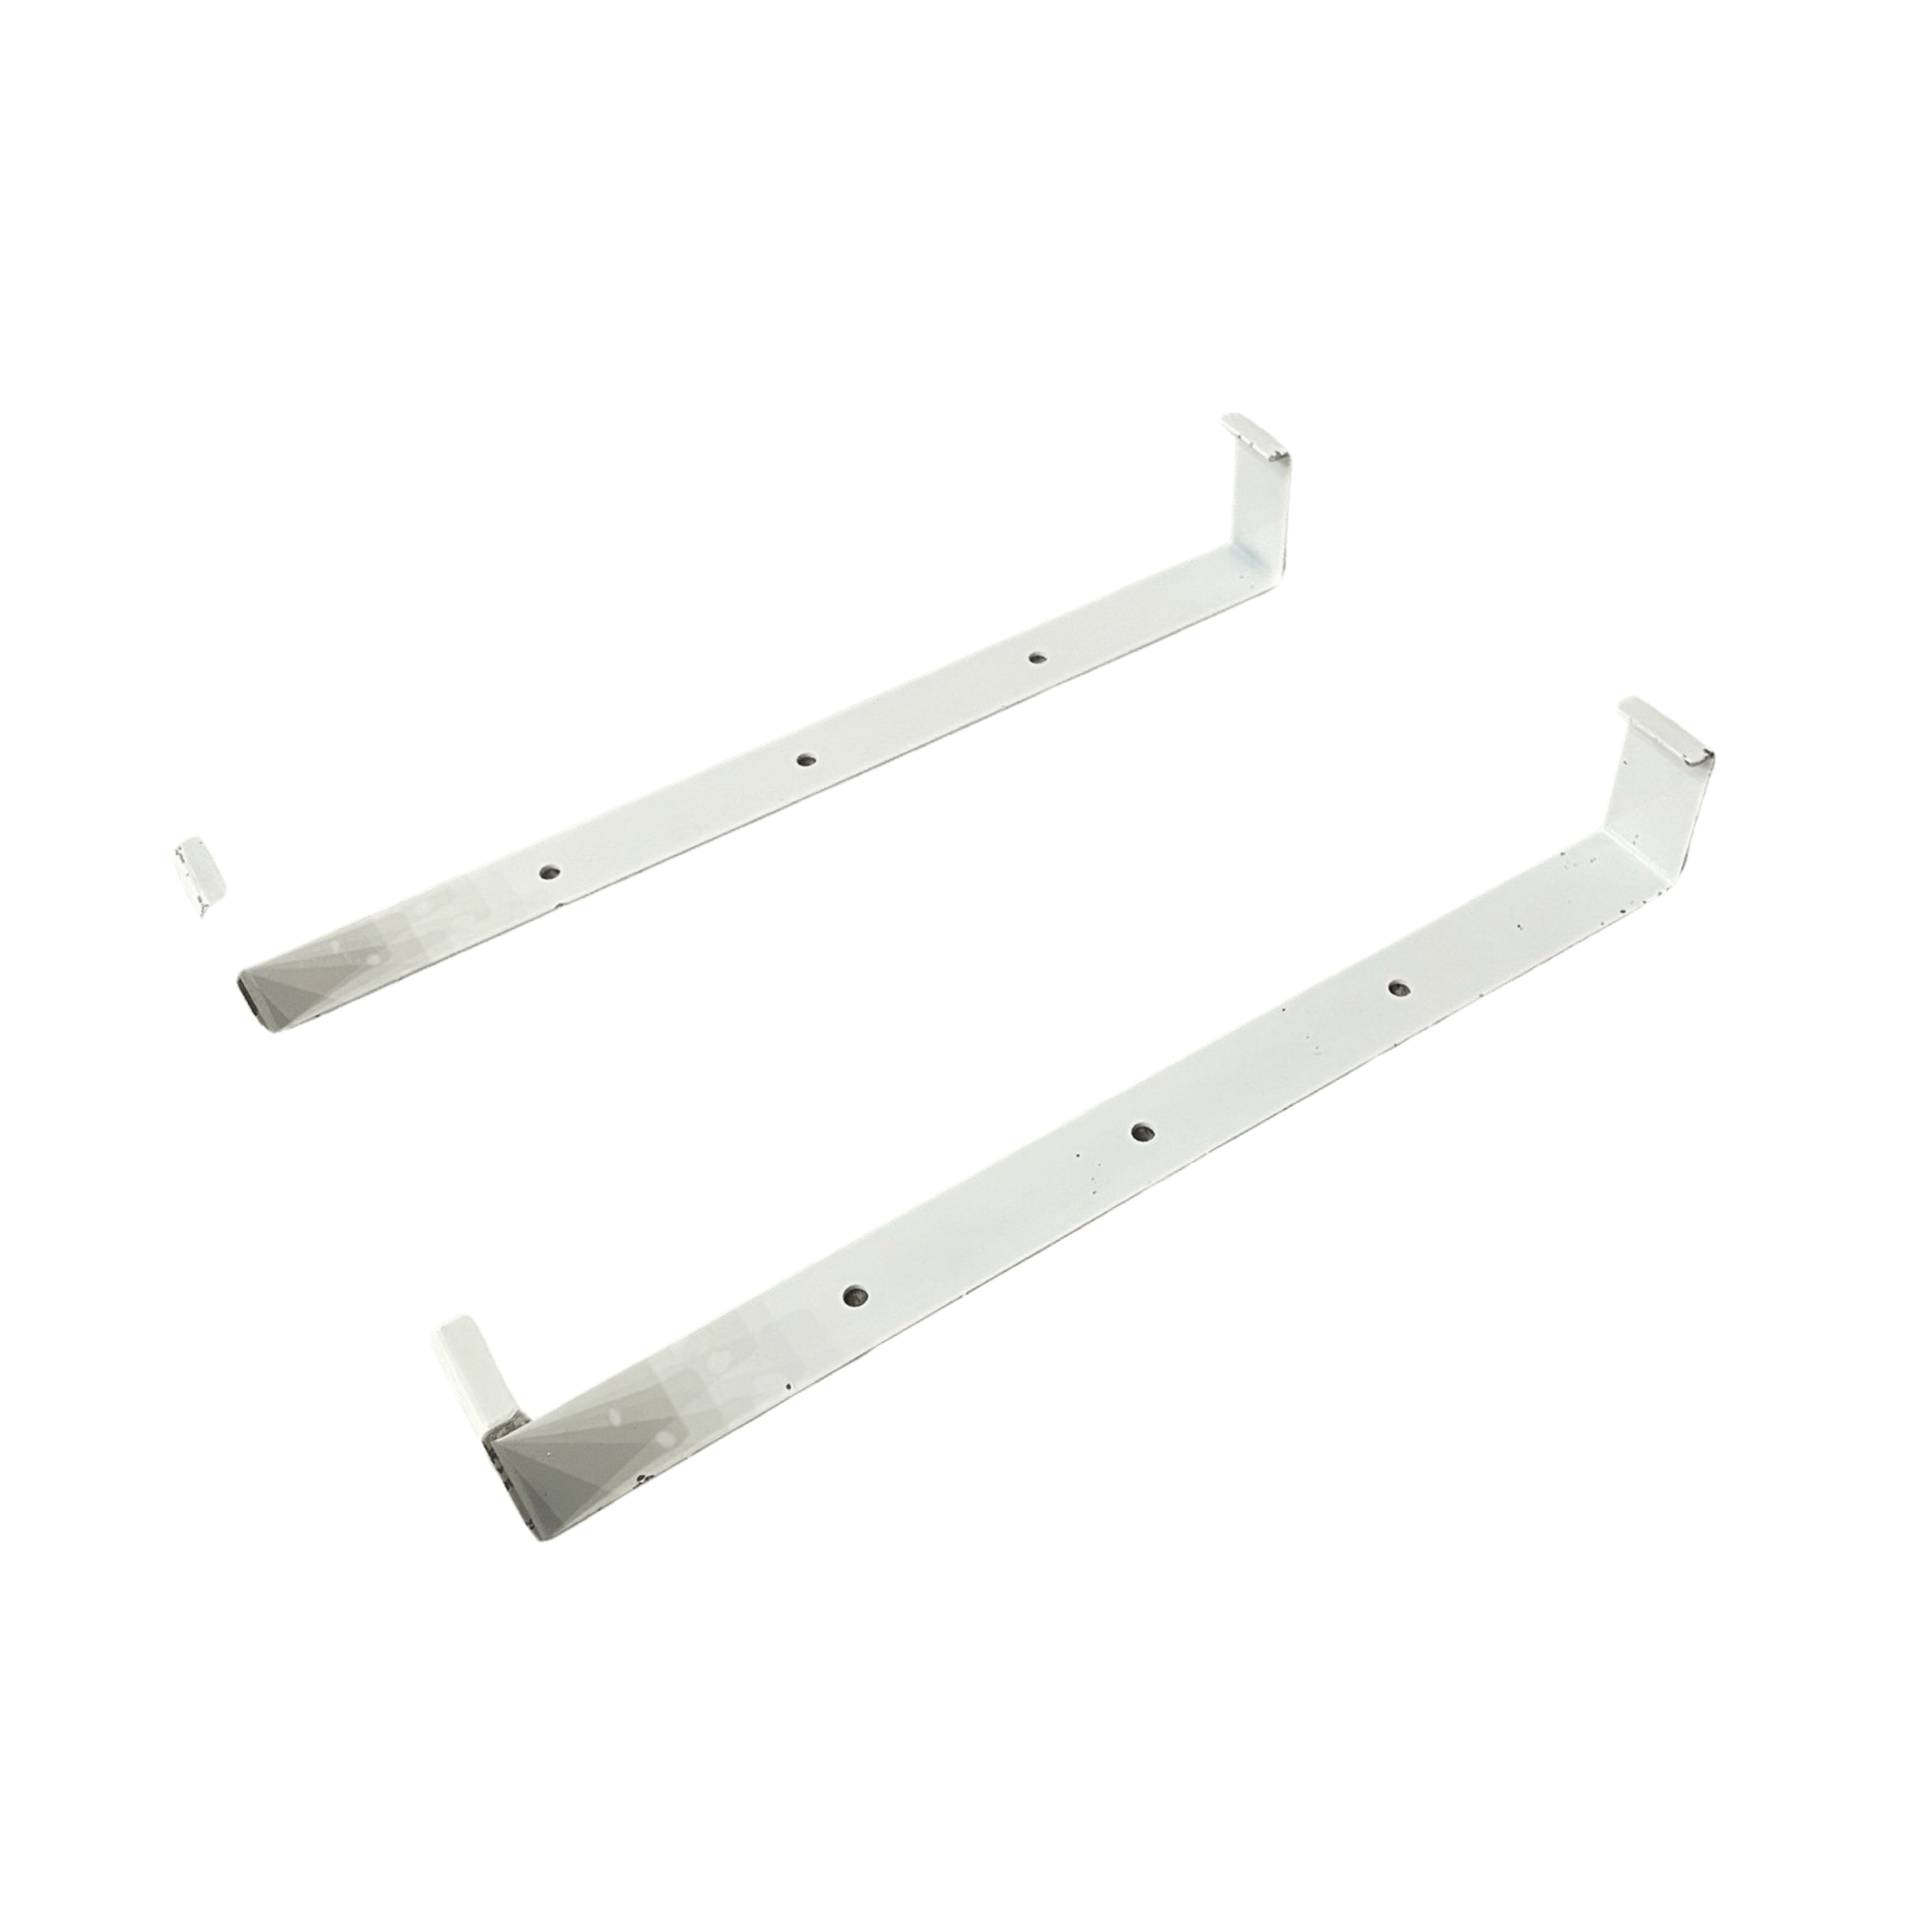
- Cove Heater 1445CL 1500w Bracket Cut Sheet
- Cove Heater 945CL 1000w Bracket Cut Sheet
- Cove Heater Ceiling-Surface-Mount-Cut-Sheet
- Cove Heater Ceiling Mounting Installation Addendum
- Cove Heater Manual in French
- Cove Heater Manual Spanish Translation
- Cove-and-Lay-In-ceiling-sprinkler-head-clearance
- Cove Heater Wiring Diagram
- NEW - Ecobee4 Thermostat Wiring Diagram for - Heating Green
- NEW - Yoga Thermostat T-32-P Wiring Diagram - Heating Green
- Cove Heater Cord Installation
- Radiant Electric Heat - Ten Year Limited Warranty
Installation
- Customer and Contractor Check List Requirements for Installation and Operation
- REH Cove Heater Manual 2024
- Cove Heater Installation and Operation Manual
- Cove Heating Green Infrared Installation Guide for Yoga Studios
- Cove Heater Installation Best Practices
- Cove Heater Cord Installation
- A 3' whip is included with each cove heater for ease of installation
Reviews
Reviews
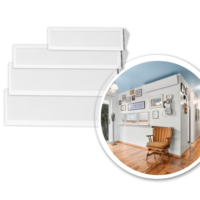 Radiant Electric Heat Cove Heater wall/ceiling mount
| 5 star | 86 | 86% |
| 4 star | 9 | 9% |
| 3 star | 5 | 5% |
| 2 star | 0% | |
| 1 star | 0% |
Customer Images


John Artin
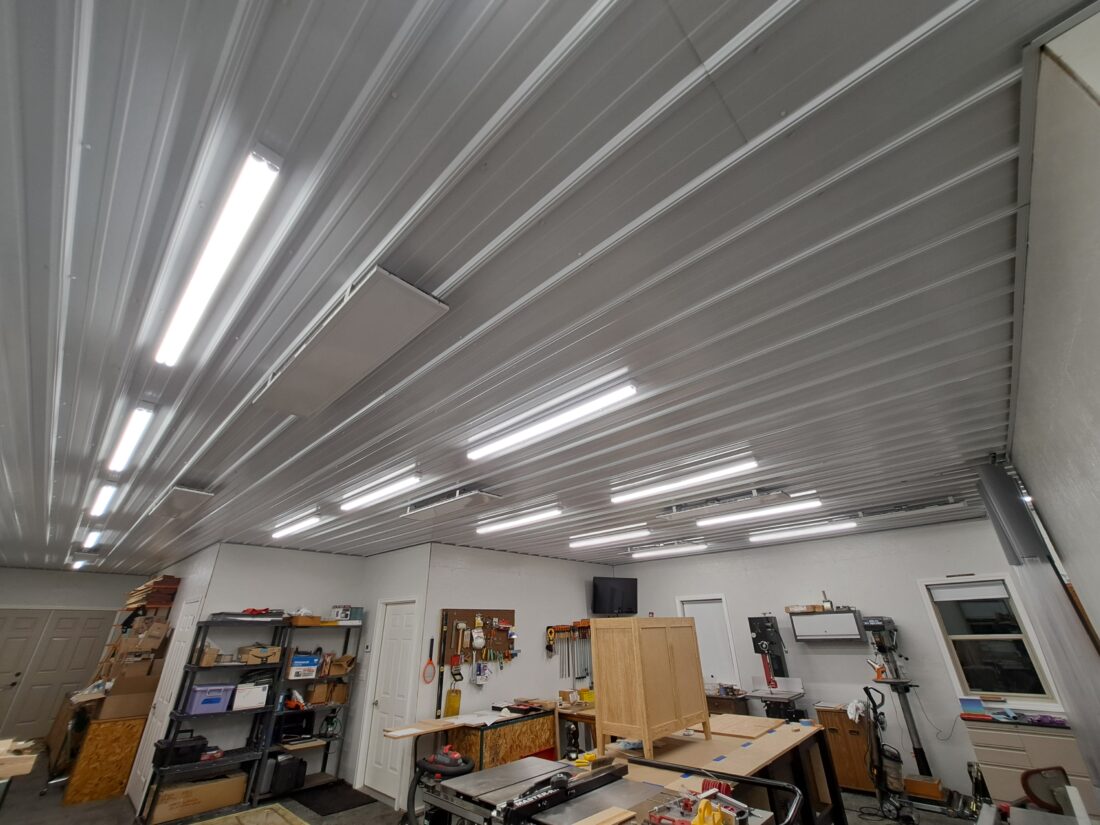
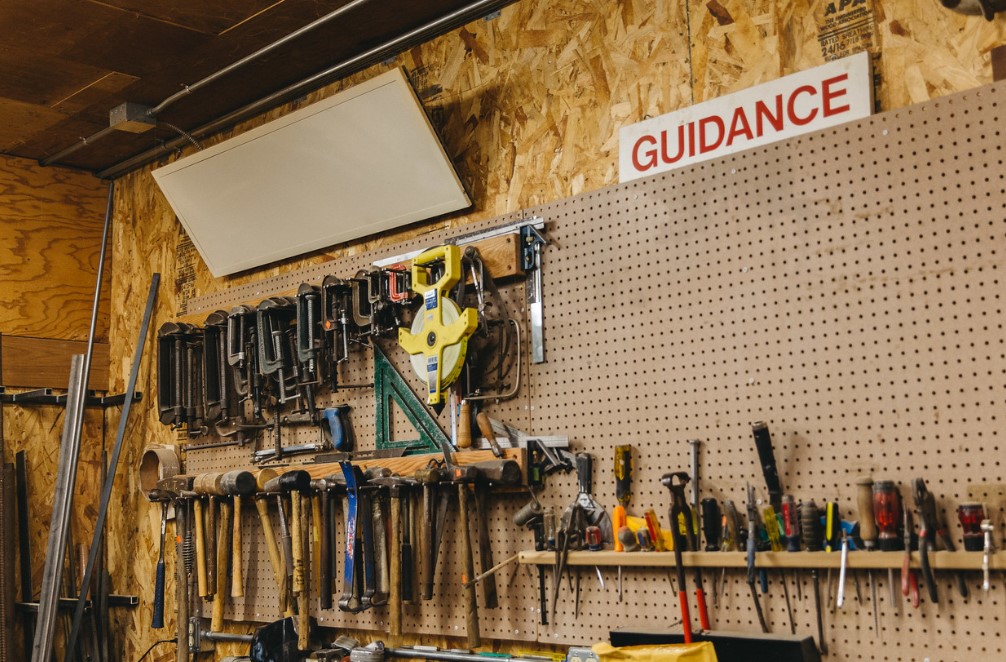
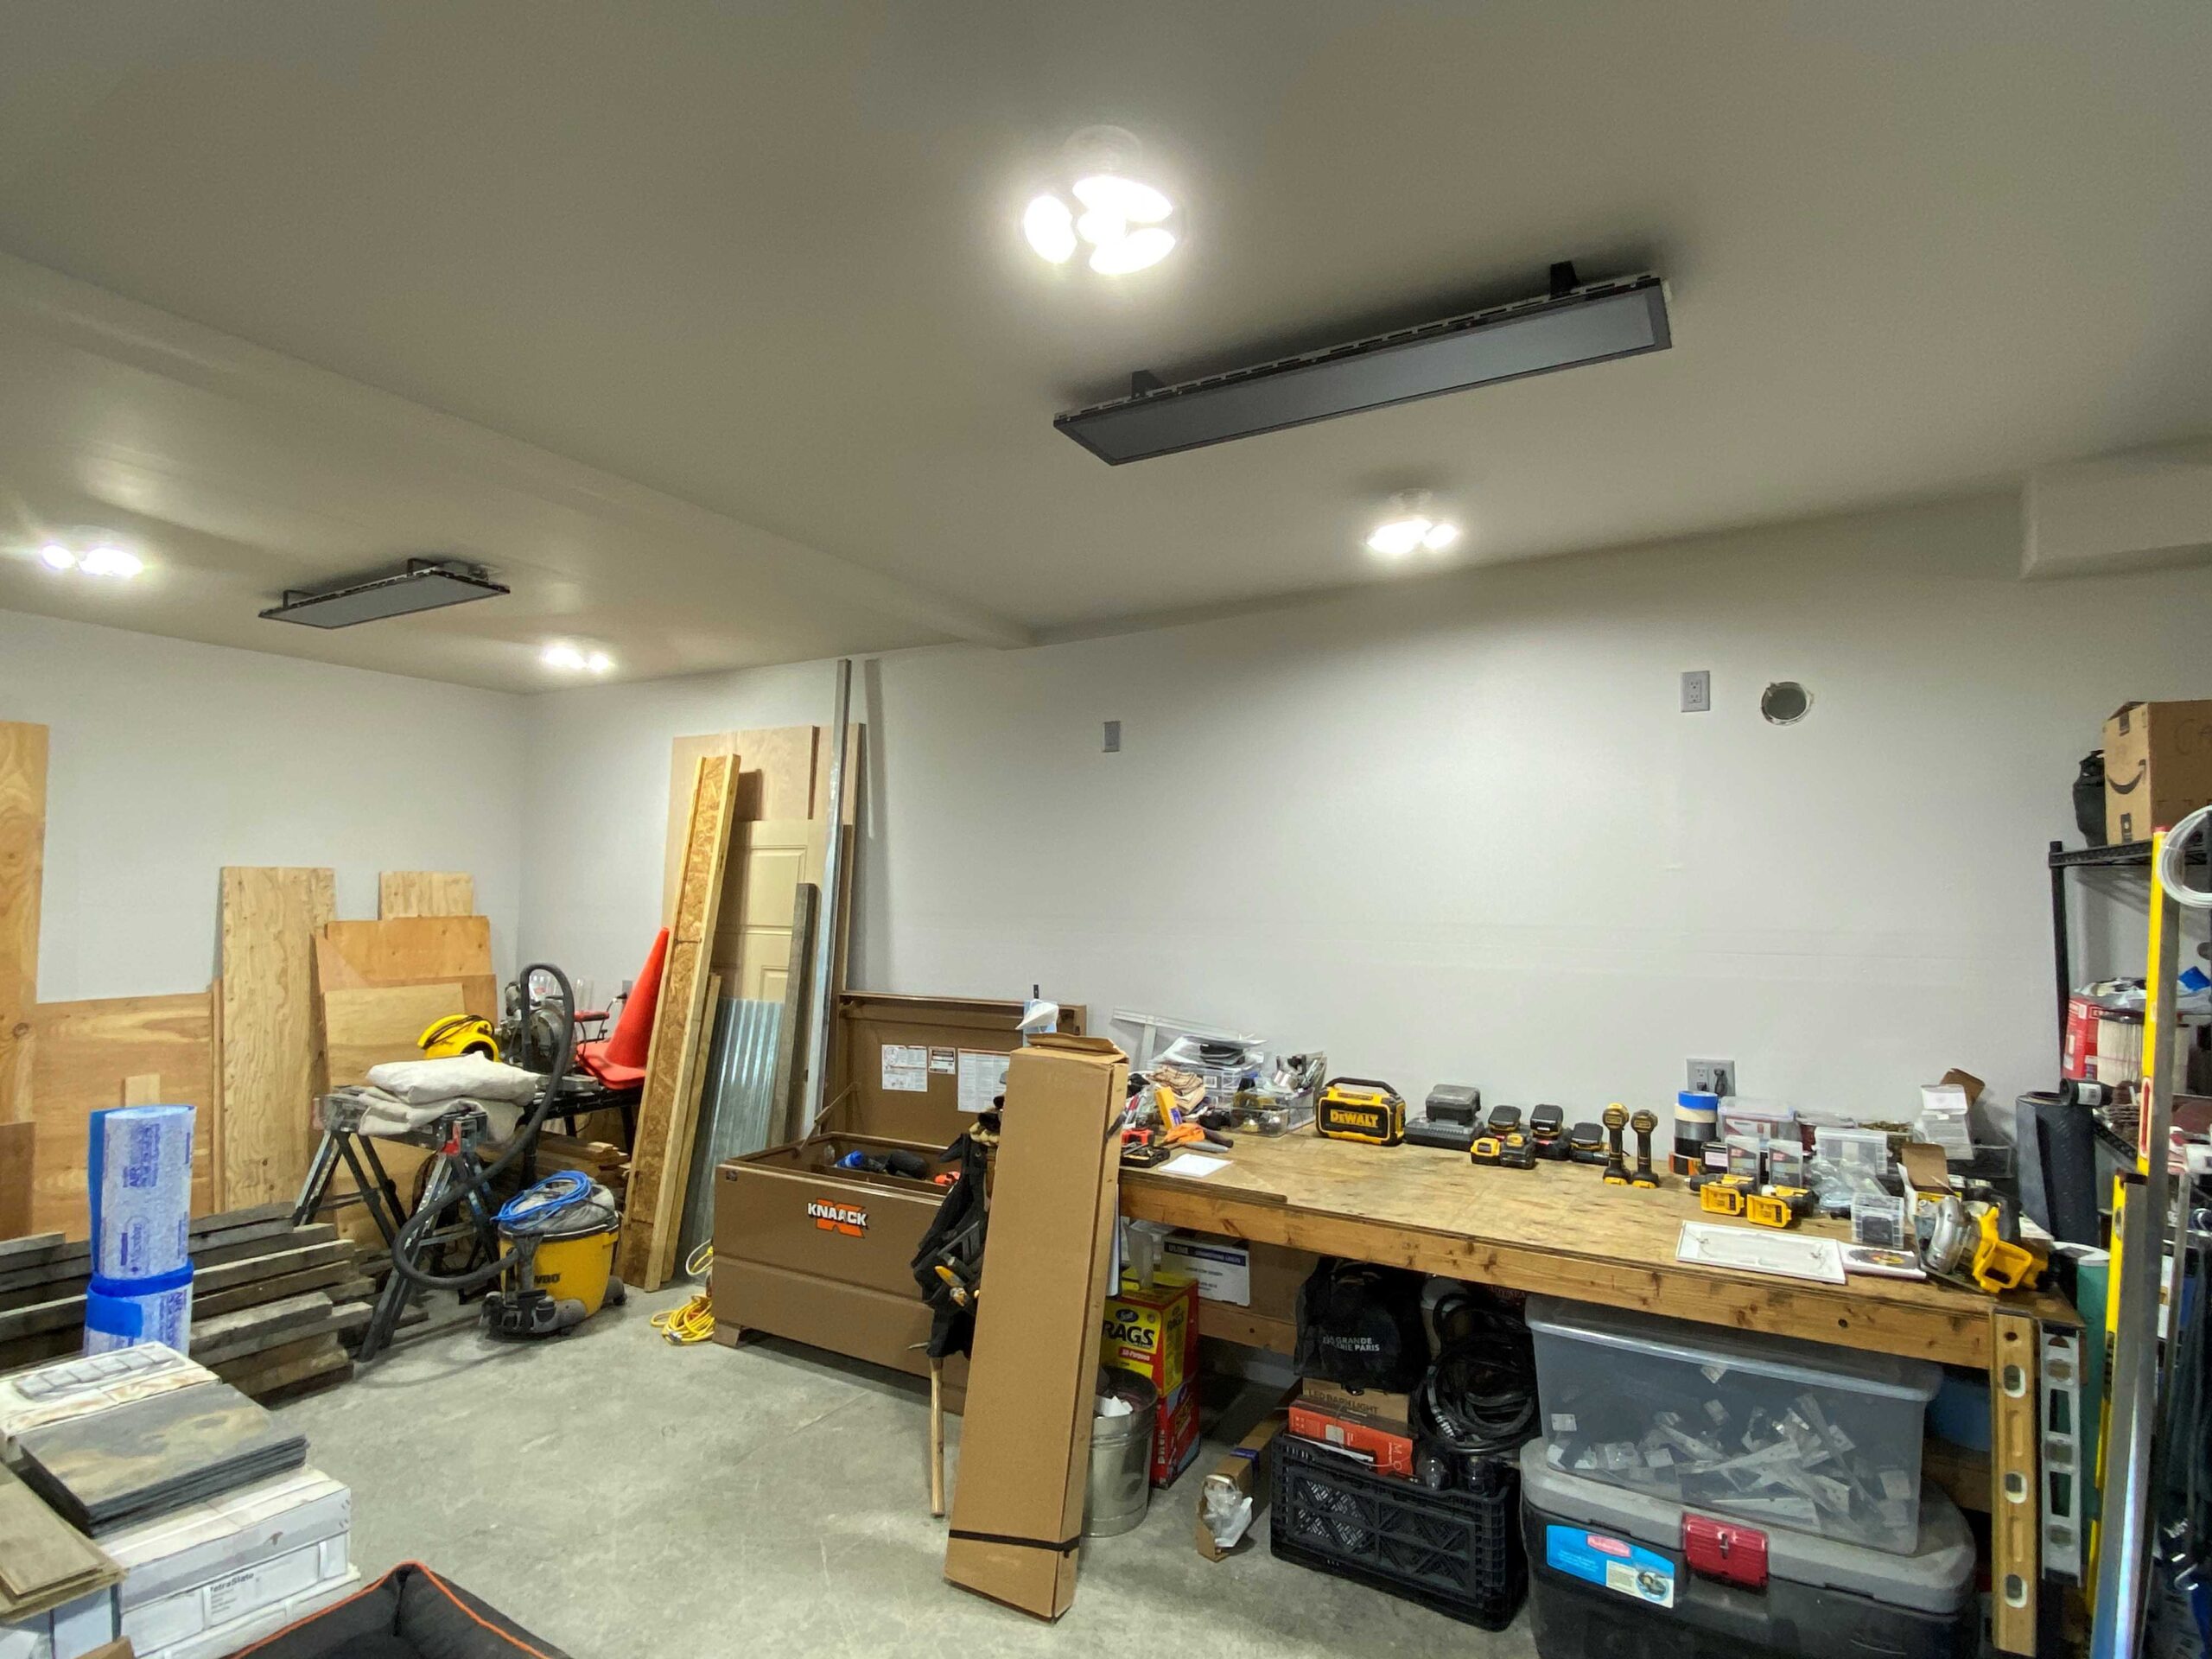
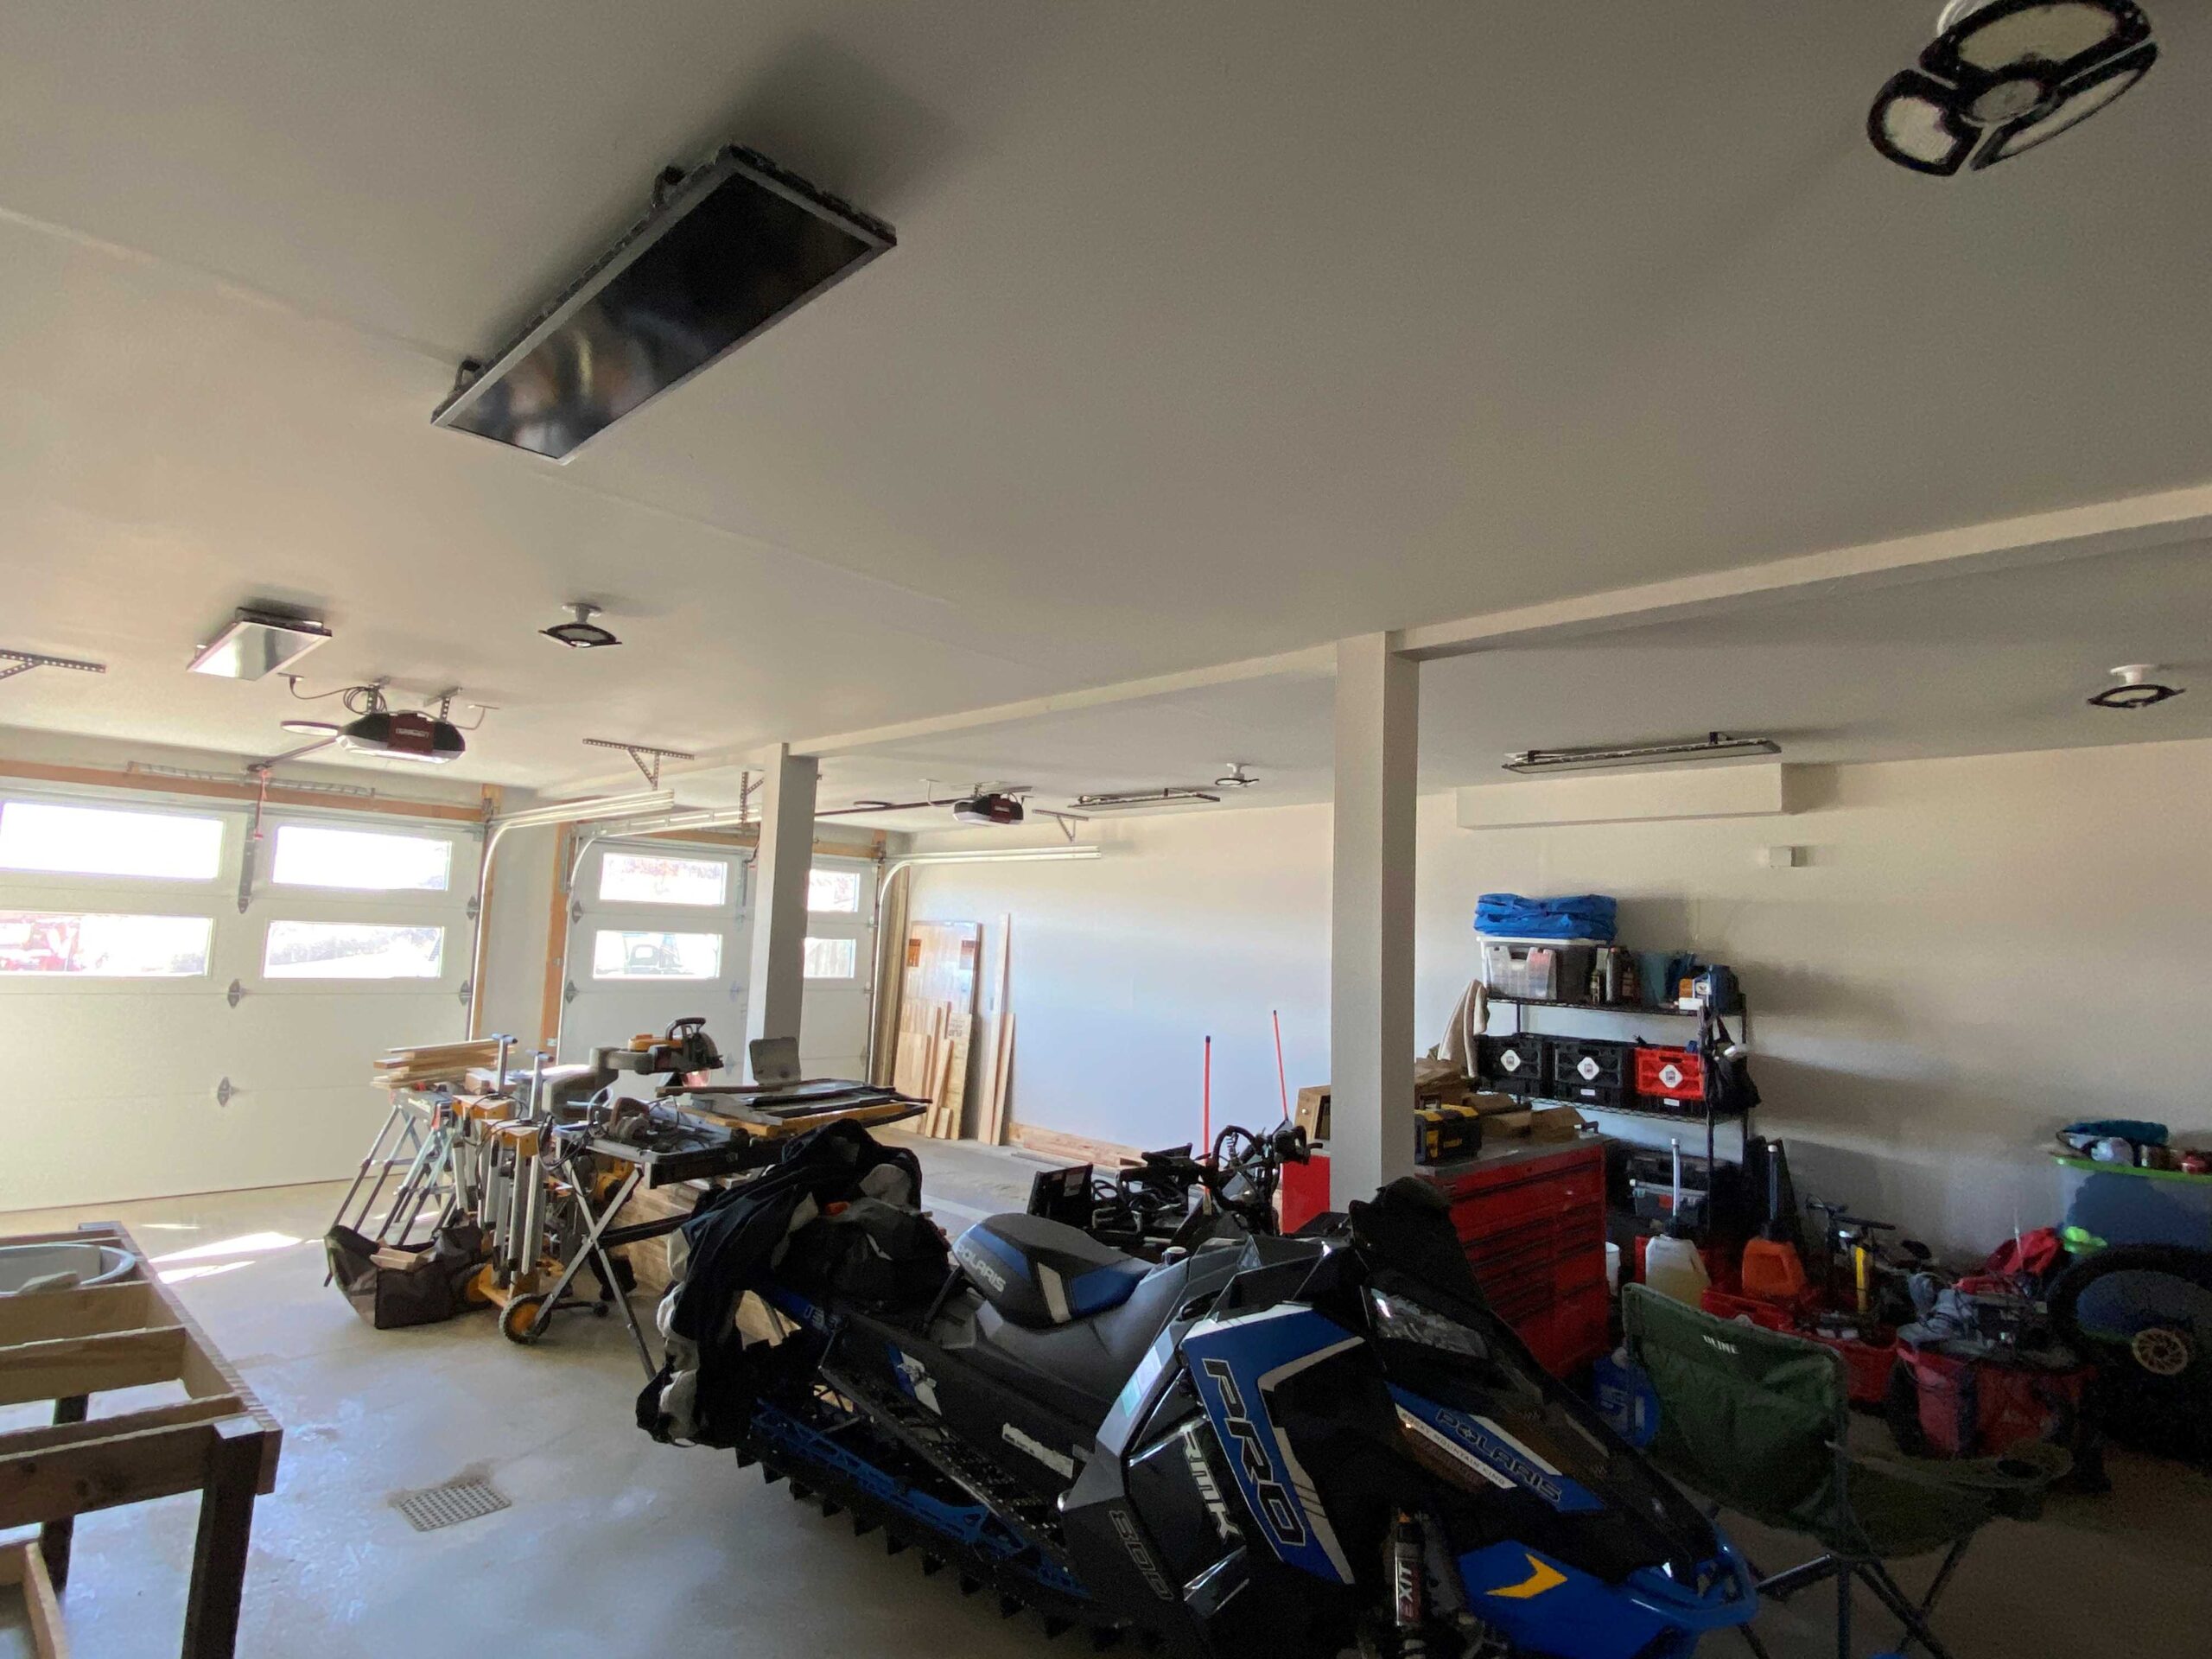
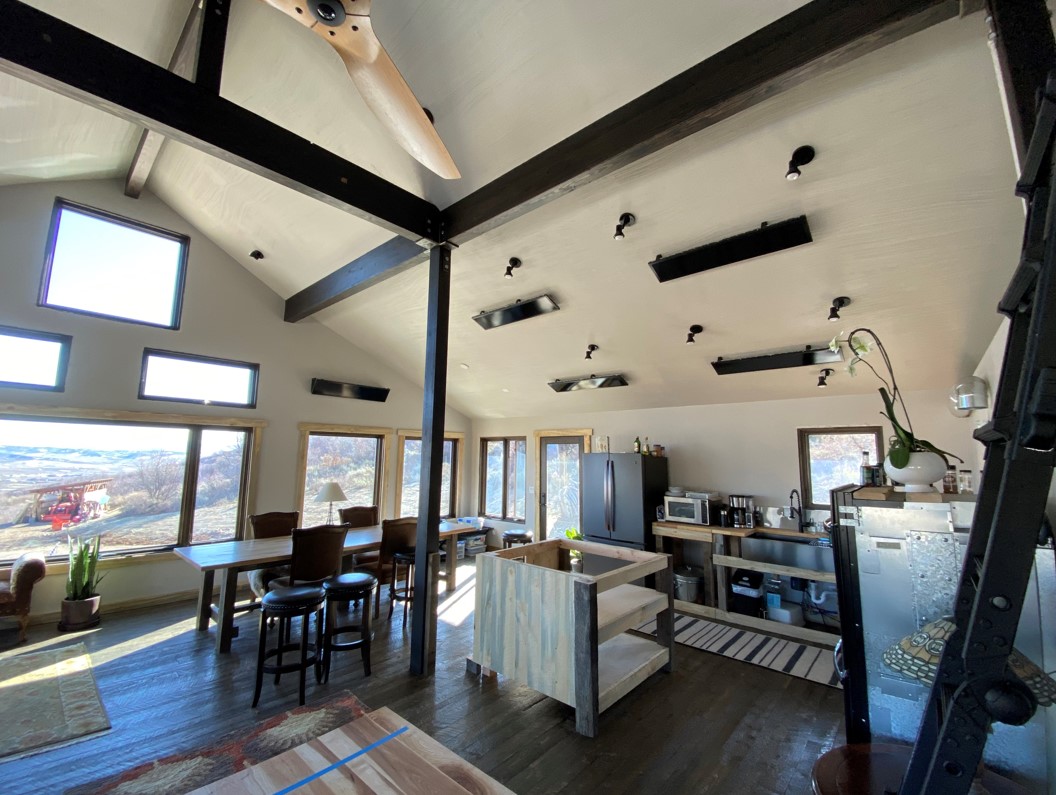
Used in bathroom and wood shop above garage. Easy to install, quiet operation, comfy heat and efficient. The shop is not normally heated, but when I want to, it takes less than an hour to get to temp in North WI winter. Safe around wood dust, low profile. Been using for several seasons now and I'm glad I went with Heating Green.

Poul Olson
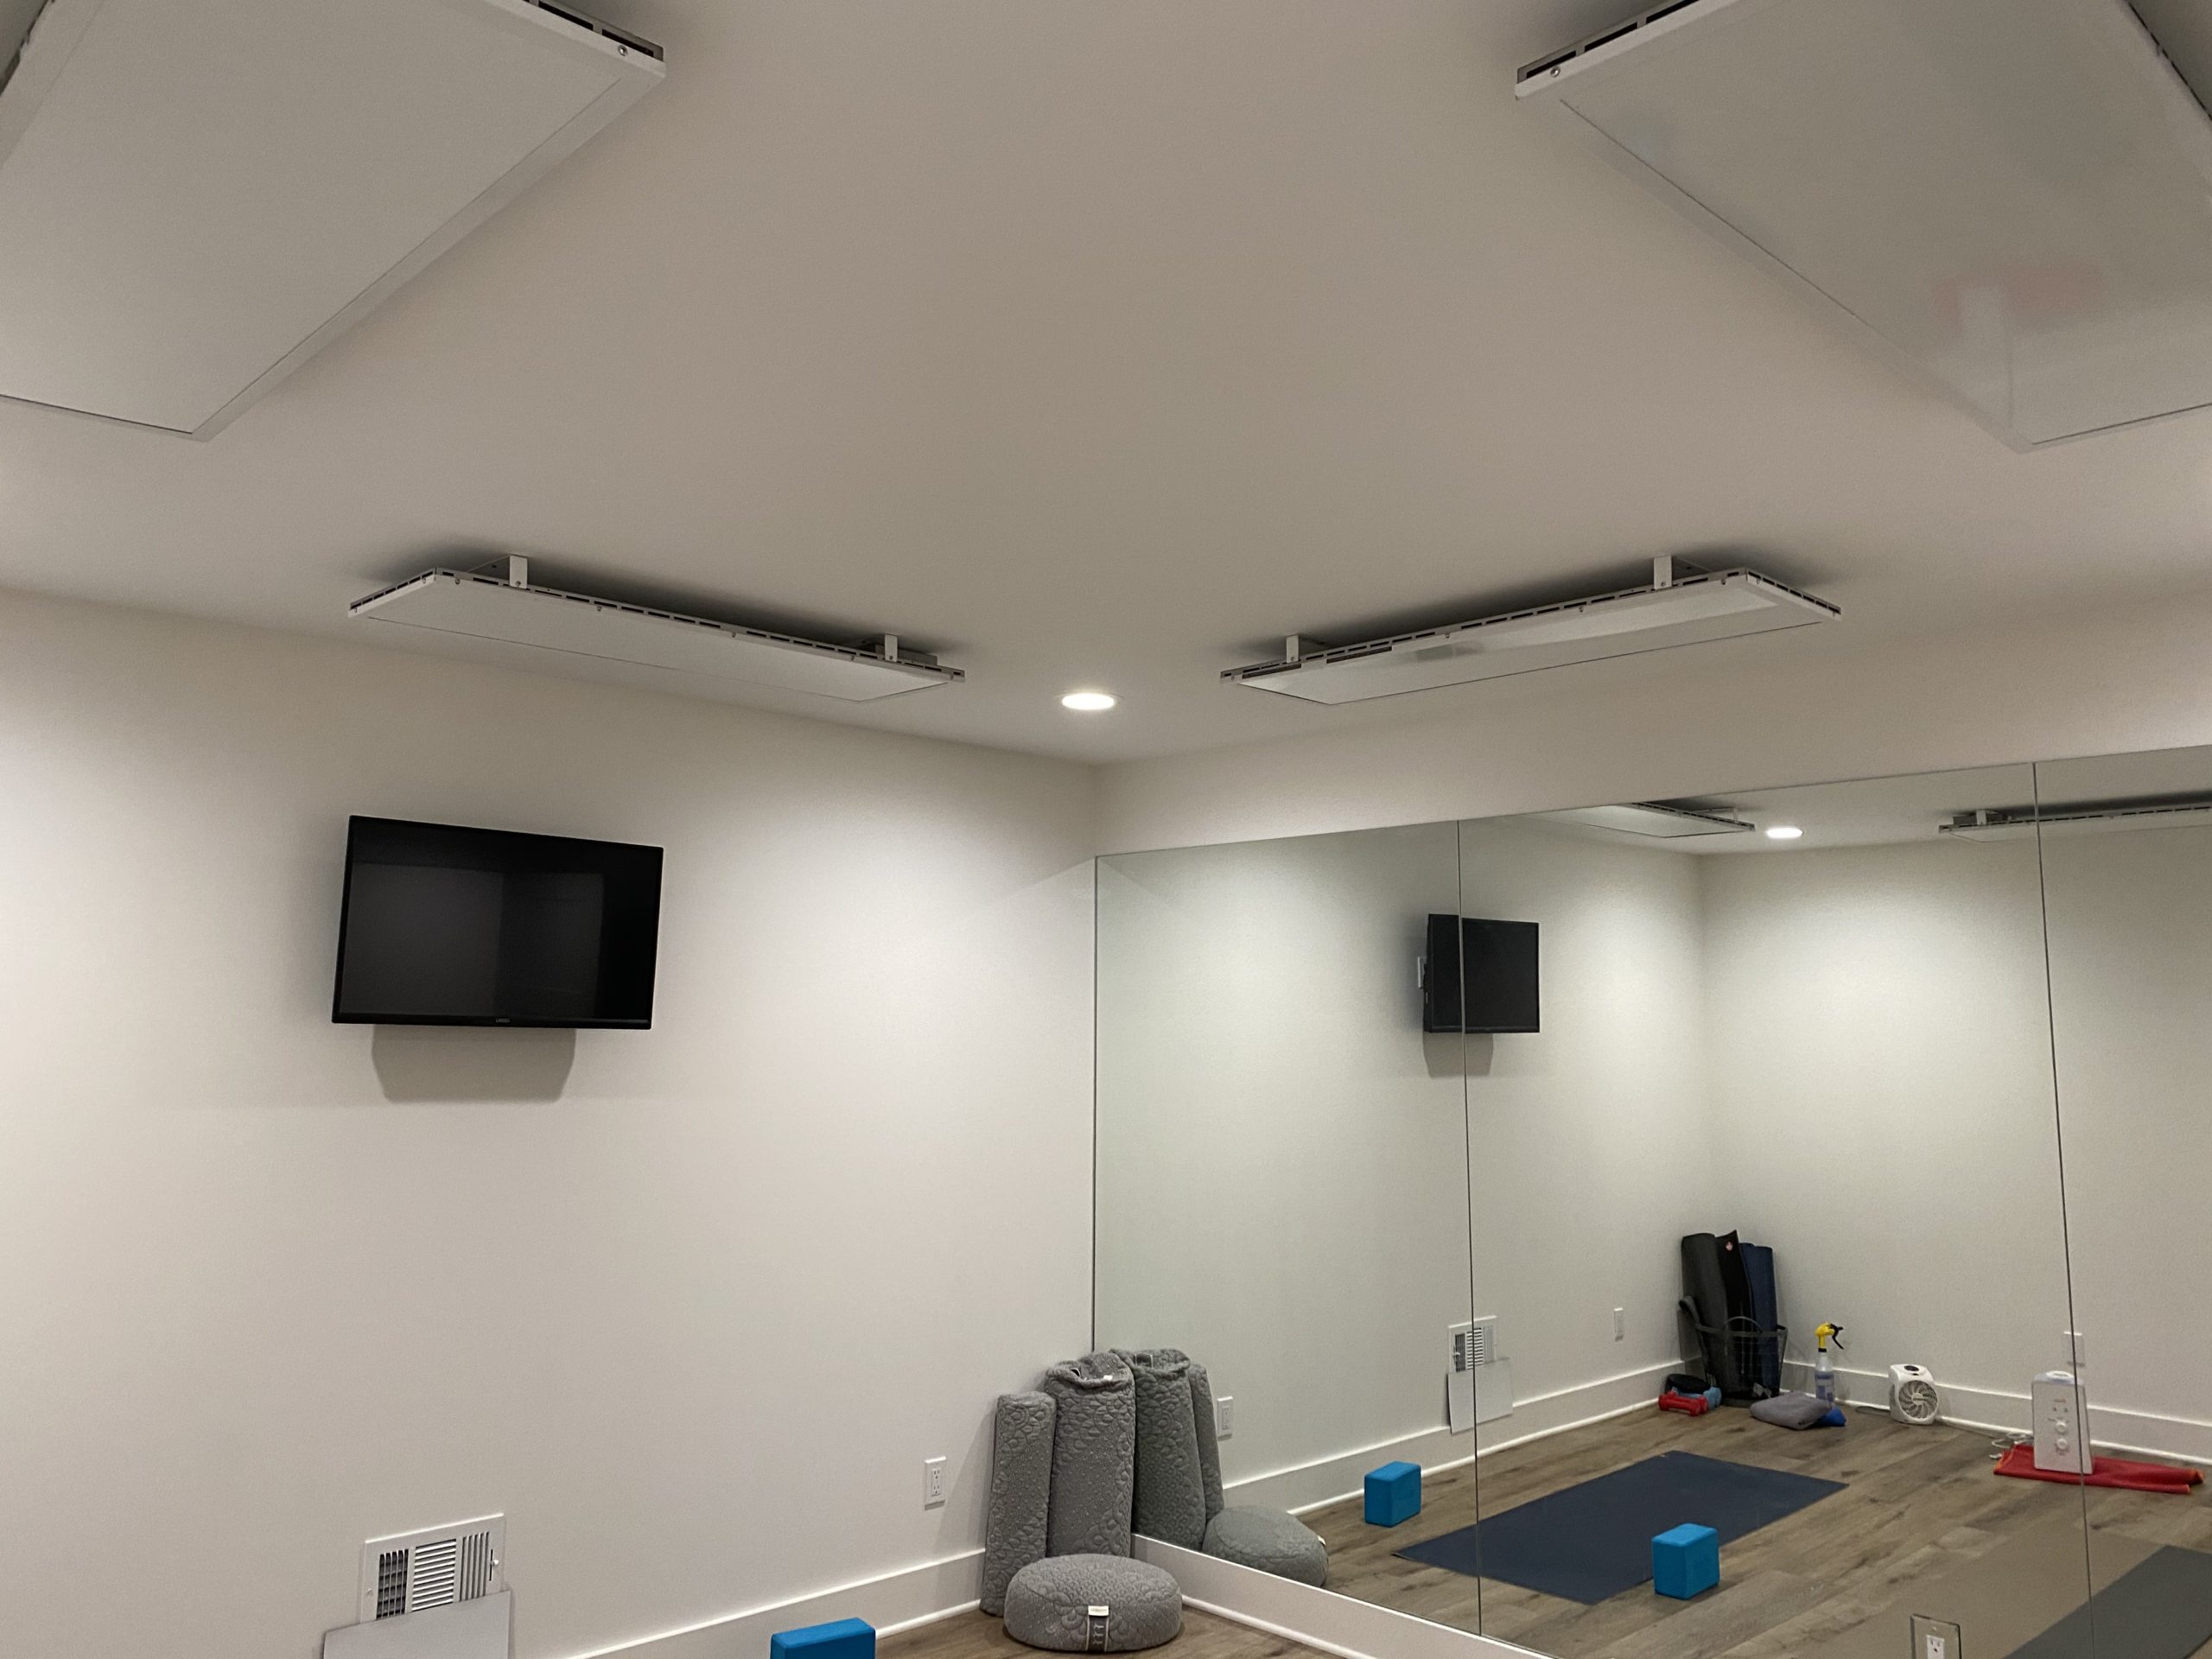
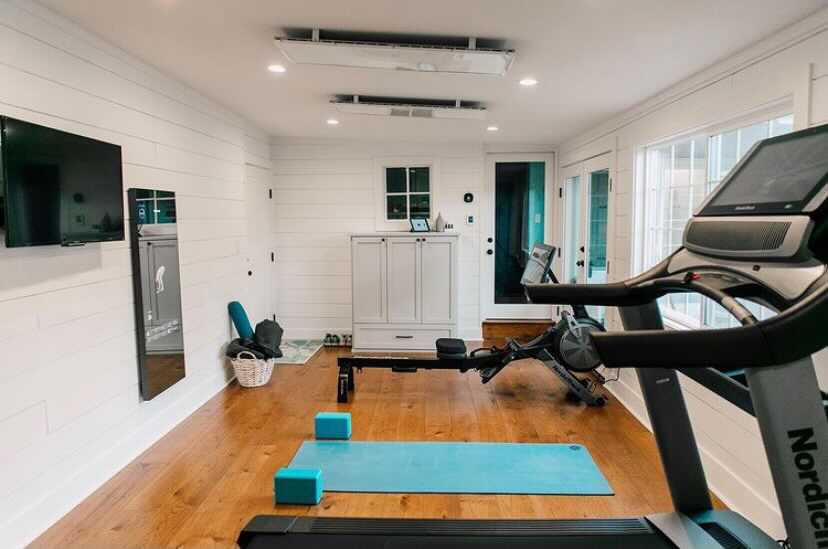
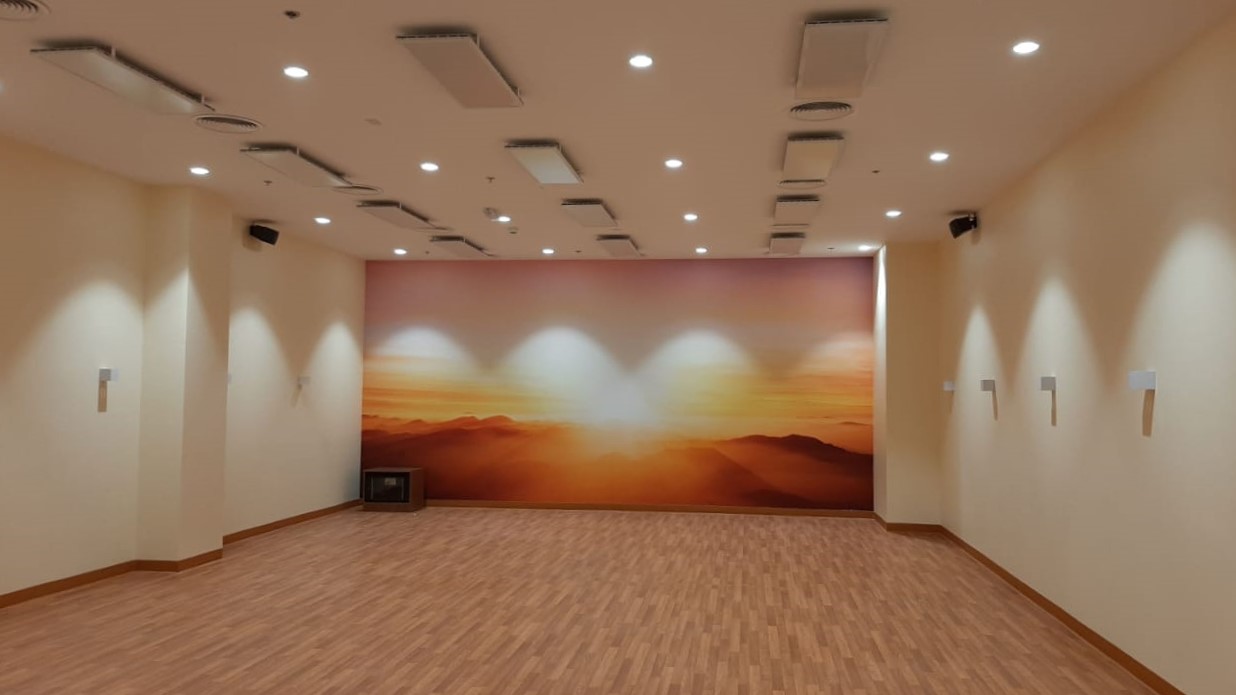
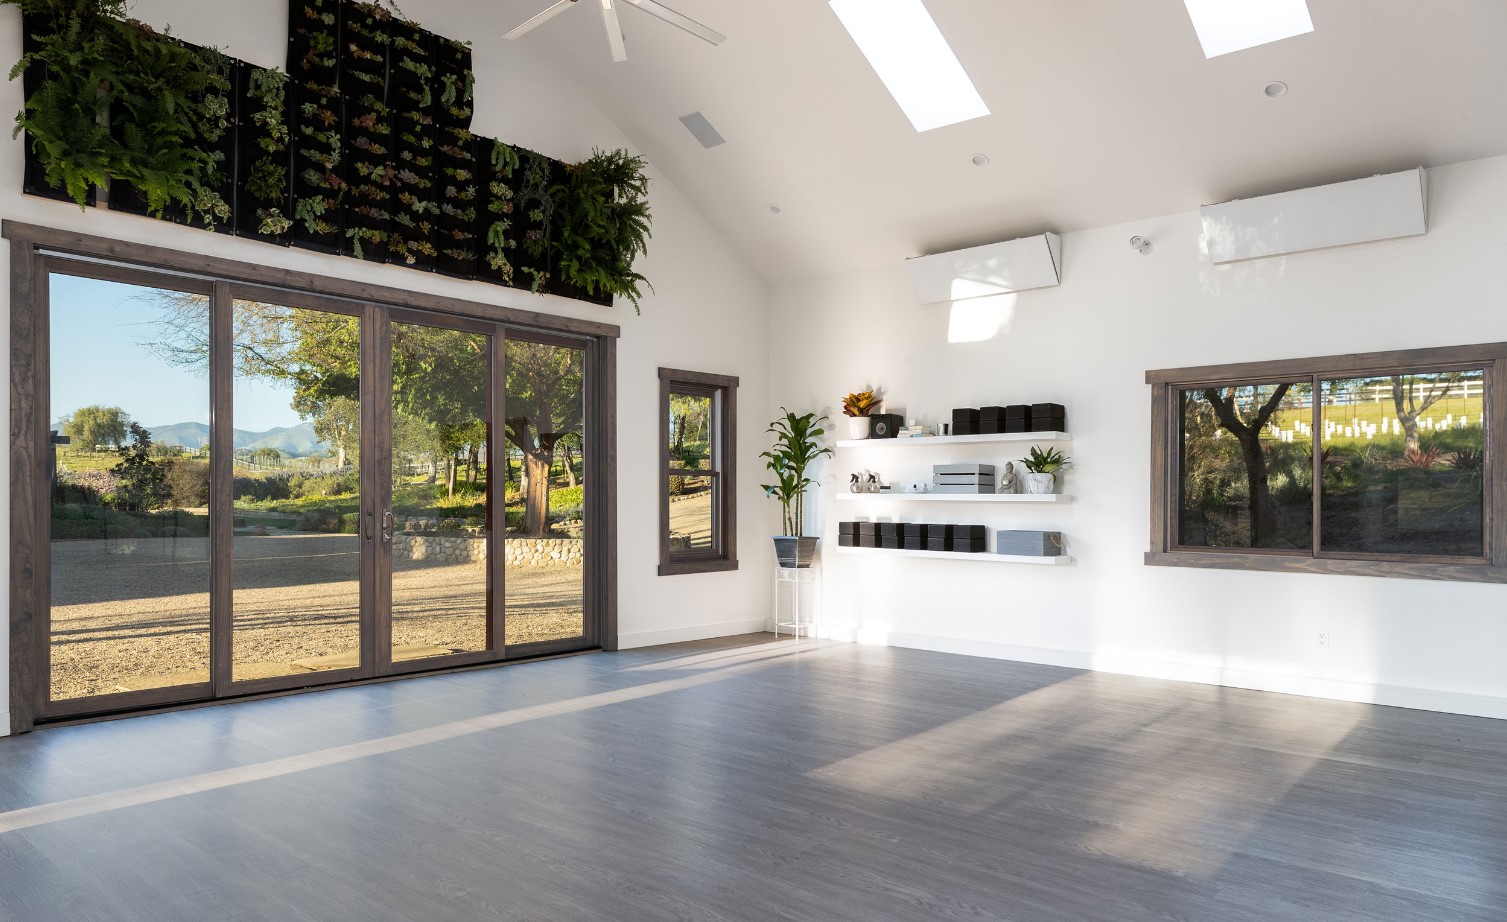
We installed 16 of the 825-watt cove heaters in our hot yoga studio here in Albany, NY. Our clients rave about the quality of the heat -- unlike anything they can find at other studios in the area. A number of our clients with musculoskeletal issues have said our infrared heat is a game-changer for their health and well-being. When they're practicing in our studio, it's the only time when they don't feel pain. Highly recommend this product.


Sorry, no reviews match your current selections

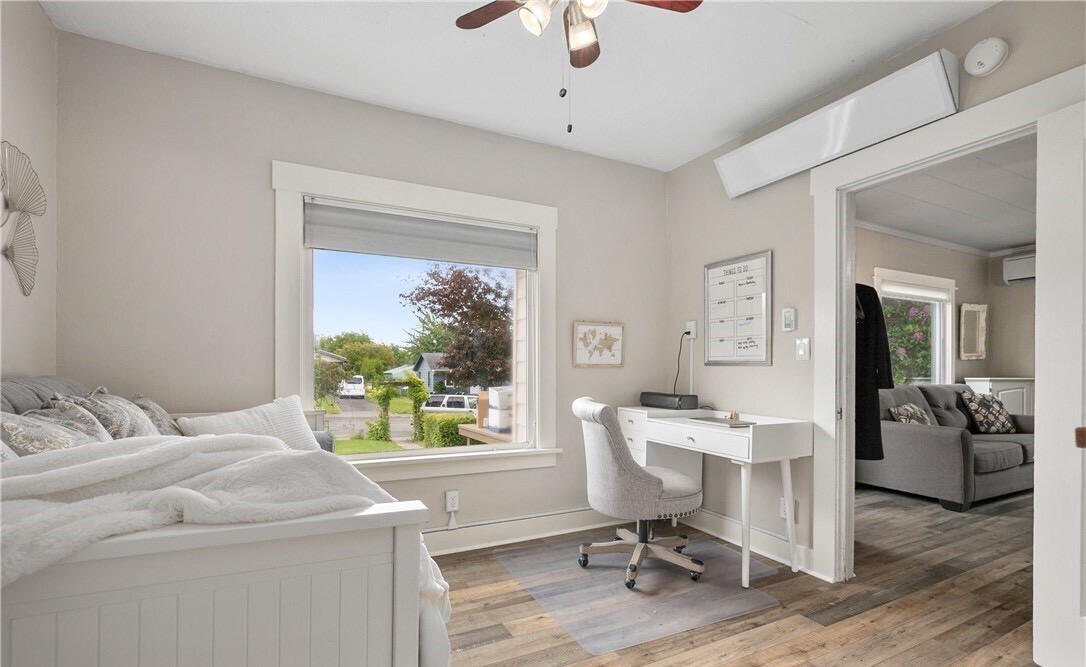
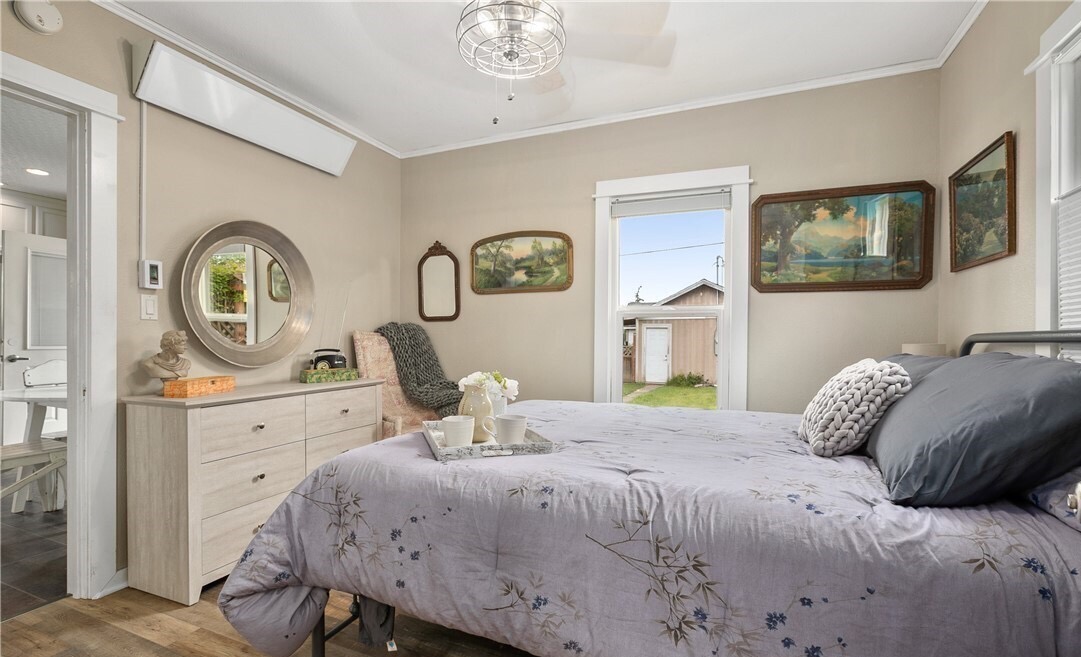

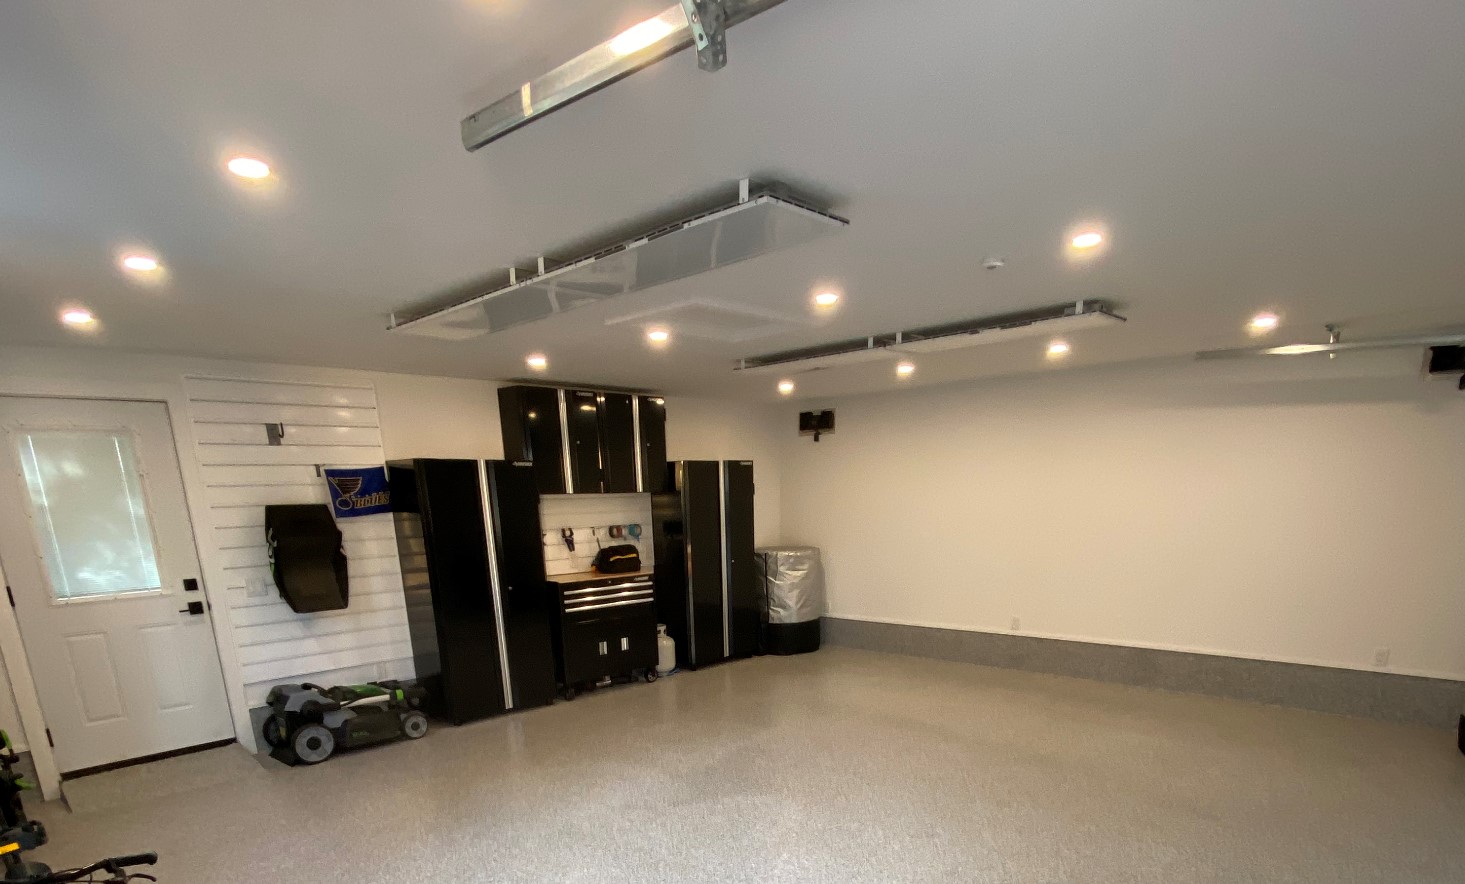



Recommend Yes, for sure
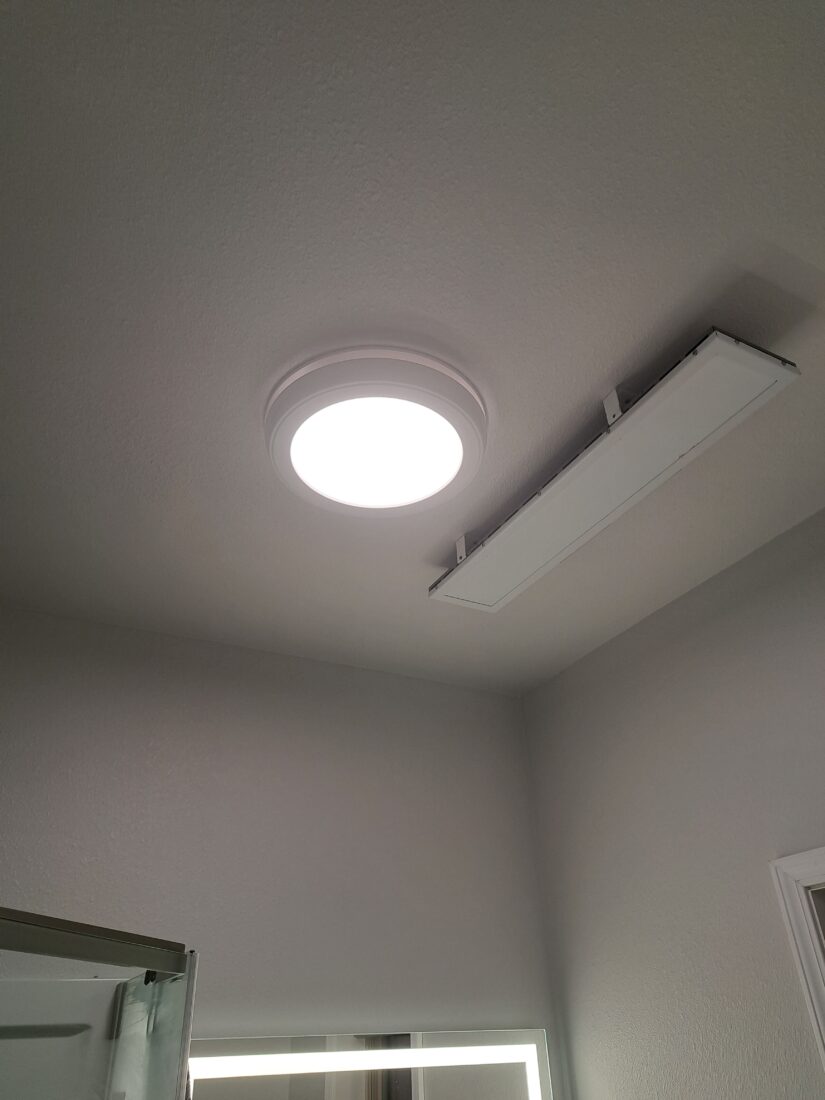
Our laundry room posed a challenge with limited ceiling footage due to a wired smoke detector and a large light fixture. This is where we used the two cove heaters – and they heat really fast.
Recommend YES
Used in bathroom and wood shop above garage. Easy to install, quiet operation, comfy heat and efficient. The shop is not normally heated, but when I want to, it takes less than an hour to get to temp in North WI winter. Safe around wood dust, low profile. Been using for several seasons now and I’m glad I went with Heating Green.
Sizing and ordering to delivery was great
customer service is always the best. quick and to the point replys and help!
Recommend Yes
We installed 16 of the 825-watt cove heaters in our hot yoga studio here in Albany, NY. Our clients rave about the quality of the heat — unlike anything they can find at other studios in the area. A number of our clients with musculoskeletal issues have said our infrared heat is a game-changer for their health and well-being. When they’re practicing in our studio, it’s the only time when they don’t feel pain. Highly recommend this product.