Infrared heating can sound a little scary or confusing when you are used to traditional forced air or furnace heating. The facts are that infrared heating is easy to install as a lighting fixture and even easier to fix. Especially with our Cove heaters, the element inside is the only working part and very easy to change!
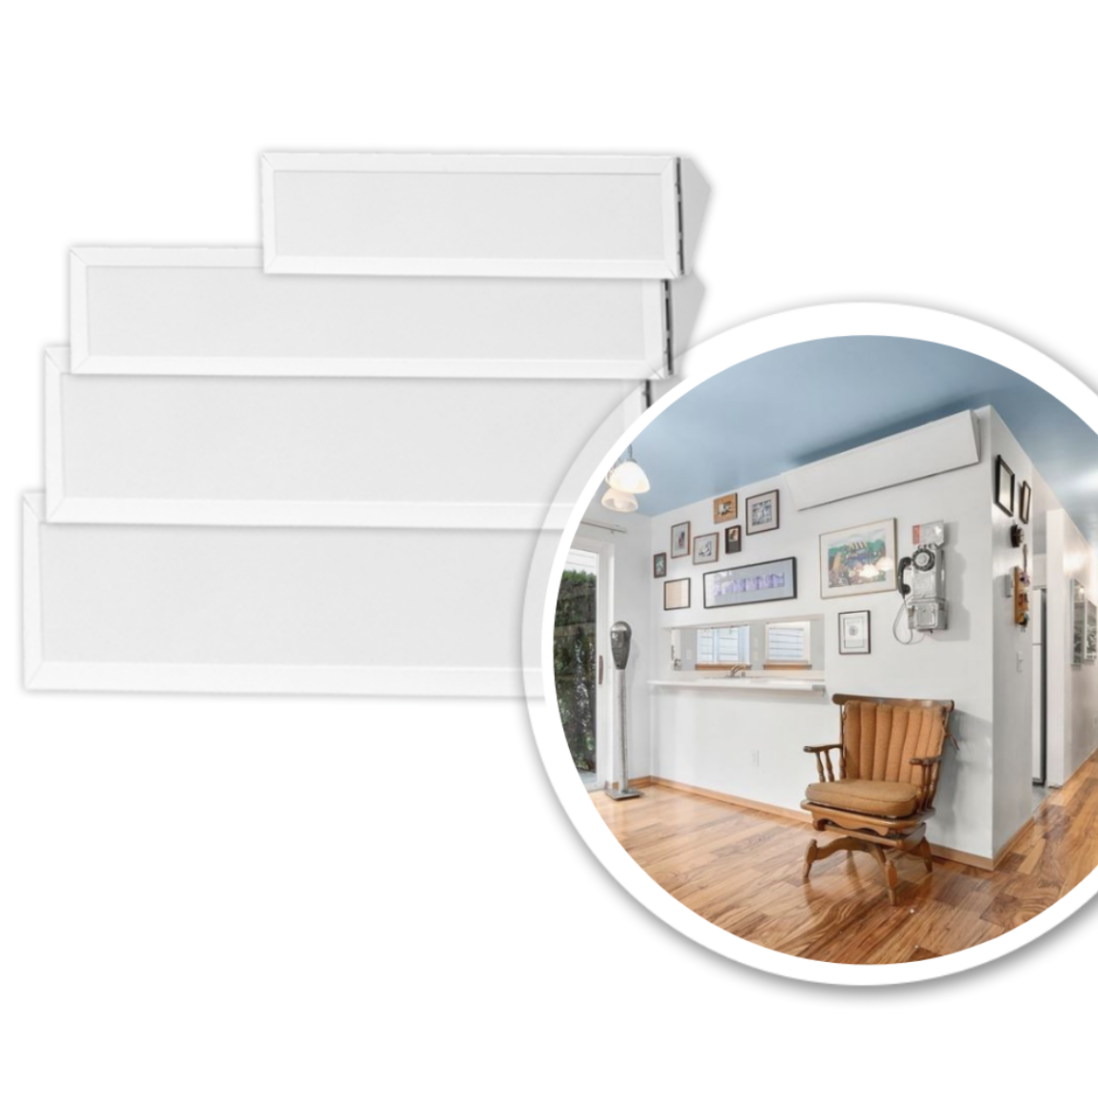
The cove heater is modular and if the element stops working, it is a very simple fix! If your heater stops working, have your electrician perform an Ohm or Resistance test to ensure that the element has stopped working and contact Heating Green with the results! We will need the results in order to honor the manufacturer’s 10 year warranty from the date of purchase.
Once you have contacted Heating Green and have received your new element under warranty, the steps are very simple for your electrician to follow.
1. Disconnect the heater from power
2. Remove the heater from it’s wall or ceiling mounting to place on a flat workspace
3. Remove the screws around the bezel or frame of the heater (save these for later) to access the element inside
4. Remove the connections of the element from the heater and take out the bad element
5. Place the warranty element in its place and re-connect to wiring
6. Place the bezel or frame back on the heater and use the screws to securely close the heater
7. Be careful of over-tightening the screws, as they may prohibit the thermal expansion the heater needs when operating
8. Put the heater back on it’s mounting position
9. Connect the heater back to power
Your heater will back up and running in no time! If you have any questions about your heater or troubleshooting contact Heating Green Support and our Support team is happy to help.
Written by Samantha Sanow, Customer Service & Fulfillment, Heating Green