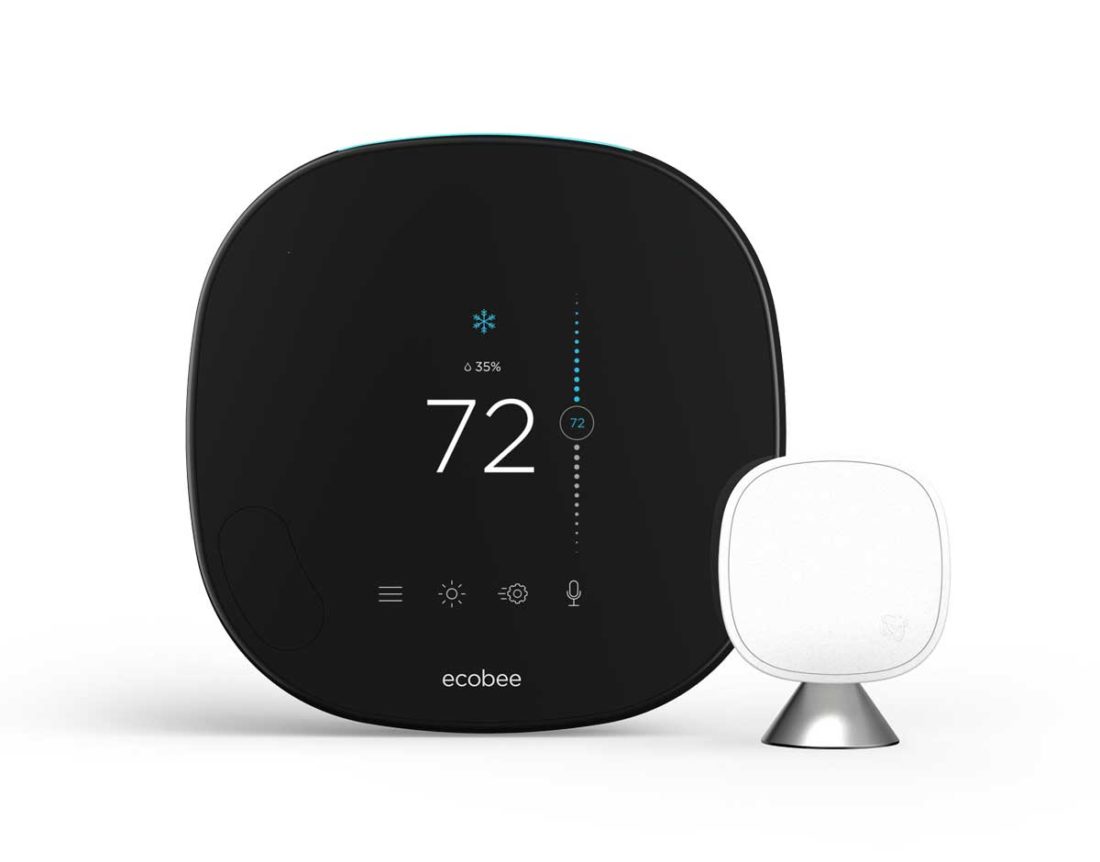
Ecobee Thermostat FAQ
Need additional support from what is provided below?

- From the thermostat or app:
- Press the Menu icon
- Press Settings
- Press Preferences
- Press Heating Range
- In Heating Range, using your finger, slide the bubble on the right side of the screen to your desired temperature
- Press Save
- From the online portal:
- Click on Settings
- Click on Preferences
- Click on Heat Set Point Range
- Using your mouse, click on the Minimum/maximum temperature and drag to your desired setting.
- Click the X in the upper right to exit this menu
- Please see this informative video that explains how to program your new Ecobee Smart Thermostat Pro.
- Contact Ecobee directly at Contact Support
- (Coming Soon!) Please see this informative video that explains how to program your new Ecobee Smart Thermostat Pro.
- Please contact our customer support team to schedule an appointment to review programming a schedule (Appointments are offered MWF, from 9am-12p, and from 1:30pm-3:30pm).
Check your internet connection and make sure that your Ecobee is connected to your Wi-Fi network.
Check your thermostat/app/online portal screen to see if there is a hold, indicated by a rectangular box that will display a temperature+“until a time”.
If yes, press the small X in the upper left of the box to resume your schedule.
Under Settings, check your Hold Action setting.
From the thermostat/app:
Press the menu icon
Press Settings
Press Preferences
Press Hold Action
We recommend setting this to “Until the next scheduled activity”. This will enable the thermostat to resume your programmed schedule in the even that someone sets a hold and forgets to remove it.
From the online portal:
Click Settings
Click Preferences
Click Hold Action
We recommend setting this to “Until the next scheduled activity”. This will enable the thermostat to resume your programmed schedule in the even that someone sets a hold and forgets to remove it.
Most of these notifications are not relevant to your Heating Green infrared heating system, they are for users with HVAC systems, furnaces, or boiler systems.
To disable these alerts from your thermostat/app:
Press the menu icon
Press Reminders & Alerts
Press Preferences
Press HVAC Reminder
Press Off
Press Air Handler Reminder
Press Off
viii.Press UV Lamp
Press Off
For Low Temp Alert, High Temp Alert, Low Humidity Alert, and High Humidity Alert, turning them off or leaving them on is at the user’s discretion.
Press Heating Cooling Alerts (Enables email alerts). Turning this setting off or on is at the user’s discretion.
To disable these alerts from the online portal:
Click Reminders & Alerts
Click Preferences
Follow Steps ii.-xi. above.
In order for your programmed schedule to be activated, your thermostat must be in Heat mode. Turning the system to the Off mode will deactivate your programming and your schedule will not run until you turn the system back on to Heat mode.
- On your Ecobee, press “Let’s get started”
- Press “Yes, only Rc is connected”, press Next
- Confirm that the wiring terminals that are highlighted are correct, press Yes
- Choose “No accessory installed”, or “Dehumidifier” if you are using the latter.
- Choose C or F, press Next
- Name your Ecobee by choosing form the menu or scroll down the menu and create your own unique name, press Next
- Enter your custom name if using this option, press Save
- Press “Select Wi-Fi network, Press Next
- Choose your Wi-Fi network, Press Next
- Enter your Wi-Fi password, Press Connect
- If you successfully connected to Wi-Fi, press Next
- Select Heat, Press Next
- You can select a temperature on the next page or ignore the prompt and press Next.
- Press Disable to deactivate the Smart Home/Away system, press Next
- Choose your country, press Next
- Choose your time zone, press Next
- Write down your Registration Code, press Finish
- If you receive a notice about Eco+, go ahead and press OK, this can be adjusted in the settings.
- Using a computer, got to ecobee.com to register your thermostat.
- Log in: If you have not created an account, create one and log in
- Click on the person icon in the upper right
- Choose “Add a device”
- Enter the 4-digit code you received on the thermostat, click Next
- On the thermostat, you will receive a notification for “Registration Confirmation”, press OK on the thermostat
- On your computer, click Yes
- If you want to have weather data on your Ecobee, you can choose “Yes”, or “No Thanks” if you do not want weather data.
- If you chose to allow access for weather date, check your location, and if correct, press Next.
- We recommend choosing “Yes” to use Home IQ.This helps Heating Green with diagnostics and is useful to see how your system is operating.
- Enter your building information.
- If using Alexa, choose Sign into Amazon and follow the steps you are provided.
- If not using Alexa, choose “Set up later”.
- Click “Start Using the Web Portal”.

